

Quick answer: A high end pc stutter fix starts with diagnosis, not with new parts. On expensive hardware, stutter almost always comes from software: shader compilation in DirectX 12 games, VRAM spilling into system RAM, driver latency, background apps, or RAM running at the wrong speed. Find the pattern first, then apply the matching fix below.
You spent good money on the parts. The graphics card is fast, the CPU is fast, and the frame counter says 150 FPS. Yet the game still hitches every few seconds, the camera judders when you turn, and the whole experience feels broken. This is the most frustrating problem in PC gaming, because the usual advice does not apply. You cannot fix it by buying a faster card. Your card is already fast.
Stutter is not the same as low frame rate. Low frame rate means every frame is slow. Stutter means most frames are fast, but a few frames arrive very late. One frame that takes 100 milliseconds feels like a freeze, even if the 999 frames around it were perfect. That is why the average FPS number lies to you. It hides the slow frames inside a good-looking average.
This guide covers only the causes that hit high-end PCs. You will not find generic tips about dusting your fans or closing Chrome here (well, one section does cover background apps, because on a high-end rig they are a real cause). Every section explains what is happening, how to confirm it, and the exact fix. Work through the diagnosis section first, then jump to the cause that matches your pattern.
What Stutter Really Is on a High-End PC
Stutter is uneven frame delivery. Your GPU might render 150 frames in one second, but if those frames are not spaced evenly, motion looks choppy. A frame that takes 6 milliseconds followed by a frame that takes 80 milliseconds is a visible hitch, even though the average still looks great.
The numbers that matter are your 1% lows and 0.1% lows. The 1% low is the frame rate of the slowest 1% of frames. The 0.1% low is the slowest 0.1%. When your average is 150 FPS but your 1% low is 40 FPS, you will feel stutter every time the game hits one of those slow frames. If you only watch the average, you will never find the problem. For a full explanation of why these numbers matter more than the headline frame rate, read our guide on what frame time is and why 1% lows matter.
A high-end PC stutters for different reasons than a weak PC. A weak PC stutters because it cannot keep up. A strong PC stutters because something interrupts it: a shader that needs compiling, a driver that holds the CPU too long, a texture that has to cross the PCIe bus because VRAM is full, or a background app that wakes up at the worst moment. The hardware is fine. The pipeline around it is not.
That distinction changes the whole approach. You do not need more power. You need to find the interruption and remove it. The next section shows you how to identify which interruption you have in about two minutes.
Diagnose First Match the Pattern to the Cause
Do not change ten settings at once. If you change everything and the stutter goes away, you will never know what fixed it, and it will probably come back. Instead, watch the pattern. The pattern tells you the cause.
Open a frame time overlay before you play. Steam has a built-in performance overlay under Settings, then In Game. The NVIDIA App and AMD Software both have performance overlays too. For a proper log you can read back later, PresentMon is a free tool from Intel that records frame times and 1% lows to a file. You can download it from the PresentMon project page.
Play for ten minutes in the game that stutters, then match what you saw to this table.
| What You See | Most Likely Cause | First Fix to Try |
|---|---|---|
| Hitches only in the first minutes, then it smooths out | Shader compilation stutter | Let precompilation finish, raise shader cache size |
| Hitches when you enter new areas, every time | Asset streaming or slow storage | Move the game to a fast NVMe SSD, check VRAM use |
| A regular hitch every few seconds in every game | DPC latency or a background task | Run LatencyMon, close overlays and RGB software |
| Stutter starts after a driver or Windows update | Driver regression | Clean install the previous stable driver |
| Stutter only in one game, other games are fine | That game’s engine or settings | Check the game’s shader cache and settings |
| Hitches when VRAM use hits the card’s limit | VRAM spill to system RAM | Lower texture quality, raise the frame cap |
| Stutter that gets worse the longer you play | Heat, power limits, or a memory leak | Check temperatures and clocks under load |
| High FPS but motion still looks choppy | Frame pacing or sync mismatch | Enable VRR, cap FPS a few frames below refresh rate |
If two patterns match, start with the one at the top of the list. Shader compilation is the most common cause on high-end PCs in 2026, so it comes first.
Shader Compilation Stutter The First Session Problem
Shader compilation stutter is the single most common cause of hitching on a high-end PC, and it is the one most guides explain badly. Here is what actually happens.
Every visual effect in a modern game is drawn by a shader, a small program the GPU runs. Your GPU cannot run the shader code shipped with the game directly. It must first be compiled into machine code for your exact GPU model and driver version. Consoles compile everything once for one fixed machine and ship the result. PCs have thousands of hardware combinations, so the compilation has to happen on your machine, either before you play or at the moment the effect is first needed.
DirectX 12 and Vulkan made this worse. These modern graphics APIs hand shader management to the game itself instead of the driver. The game bundles rendering instructions into Pipeline State Objects, or PSOs. When the game meets an effect it has not compiled yet, a new enemy model, a spell effect, a new area, the CPU has to build that PSO right then. Compiling one PSO can take tens to hundreds of milliseconds of CPU time, and while the CPU is doing that, it is not preparing frames. You feel it as a brief freeze. The second time you see the same effect, the compiled shader is cached and the hitch is gone.
The diagnostic signature is simple: hitches that never repeat in the same spot are shader compilation. Stutter that repeats in the same spot every time is something else, usually streaming or storage.
Here is how to fix it in order
First, let in-game precompilation finish completely. Many games show an “Optimizing shaders” or “Compiling shaders” progress bar on first launch. Let it finish. It can take several minutes, and on some games much longer, but skipping it guarantees worse stutter during play. If you cancelled it once, delete the game’s shader cache from its settings or verify the game files, then let it run again.
Second, raise your shader cache size. NVIDIA drivers default to a 10GB shader cache, and AMD defaults to 8GB. Both fill up and start evicting old compiled shaders, which forces recompilation later in long sessions. In the NVIDIA Control Panel, go to Manage 3D Settings, then Shader Cache Size, and set it to Unlimited. In AMD Software, go to Settings, then Graphics, then Shader Cache, and set it to AMD Optimized or Unlimited if your driver version offers it. A bigger cache means compiled shaders stay cached across sessions.
Third, expect one rough session after every driver update. A new driver invalidates old compiled shaders, so your first session after updating will stutter more while the cache rebuilds. This is normal. Play through it once, and the next session will be smooth. Do not delete your shader cache routinely. Deleting it guarantees the stutter returns on the next launch.
Fourth, remember that shader compilation is a CPU task, not a GPU task. This is why a powerful graphics card paired with a slower CPU can still stutter badly during compilation. If your CPU is the weaker half of your build, the fixes above matter even more. A longer-term fix is already arriving: Microsoft’s Advanced Shader Delivery ships precompiled shaders matched to your GPU, so less compilation happens on your machine. Not every game supports it yet, but it is the direction the industry is moving.
Full VRAM and the Spill to System RAM
Your graphics card has its own fast memory, called VRAM. When a game needs more VRAM than the card has, the extra textures spill into system RAM over the PCIe bus. System RAM is far slower than VRAM, and the PCIe bus is far narrower than the GPU’s internal memory bus. Every spilled texture arrives late, and the frame that needed it arrives late too. The result is stutter that gets worse in busy scenes, exactly where you need smooth frames most.
This hits high-end PCs more than people expect. A card with 12GB or even 16GB of VRAM can still run out at 4K with ultra textures, ray tracing, and frame generation enabled. Frame generation itself uses extra VRAM. So does running a second monitor with a video playing on it. The card is not weak. The workload simply exceeds its memory.
Watch VRAM use in your overlay while you play. If stutter starts right as VRAM use touches the card’s limit, you have found your cause. Our full guide explains the mechanics in detail: does full VRAM cause stuttering.
The fixes are straightforward. Lower texture quality one step, from Ultra to High. In most games the visual difference is tiny and the VRAM saving is large. Turn down ray tracing or shadow quality, which are heavy VRAM users. If you use frame generation, check whether turning it off smooths the frame times; on a card near its VRAM limit, frame generation can cost more smoothness than it adds. Close the browser and the video on the second monitor while you play. And if you are shopping for a card, this is why VRAM capacity matters as much as raw speed. Our guide on whether 8GB of VRAM is enough covers how much headroom different resolutions need.
One more note: VRAM spill stutter looks a lot like shader stutter, but the pattern is different. Shader stutter fades as the cache builds. VRAM spill stutter stays bad, or gets worse, the longer you play in a heavy scene. If your hitches never improve, check VRAM before you blame shaders.
When a Driver Freezes the Frame
DPC latency is the cause most gamers have never heard of, and it is one of the most common on expensive builds. DPC stands for Deferred Procedure Call. It is a short piece of work a driver hands to the CPU. While a DPC runs, that CPU core cannot do anything else. If a driver takes too long, sound buffers run dry and frames arrive late. You hear it as audio crackling and see it as a regular hitch, often every few seconds, in every game.
The usual suspects are the NVIDIA display driver (nvlddmkm.sys), network drivers, audio drivers, and storage drivers. LatencyMon is a free tool that measures this. Run it for 15 to 30 minutes under load. Its maker considers anything under 2,000 microseconds fine for real-time use, 2,000 to 4,000 doubtful, and anything over 4,000 unsuitable. People with this problem often see spikes of 5,000 microseconds or far more.
Here is how to work through it. First, update your GPU driver with a clean install, and update your network and audio drivers from the maker’s site. If the problem started right after a driver update, roll back to the previous version instead. A new driver can start DPC problems, and the fix is simply the older driver.
Second, set your Windows power plan to High Performance or Ultimate Performance. This stops CPU cores from dropping into deep sleep states during brief pauses in gameplay, which is a known source of latency spikes. In Advanced Power Options, set PCI Express Link State Power Management to Off, so your GPU and NVMe drives never negotiate slower bus speeds while idle.
Third, look at your audio setup. USB audio interfaces and external DACs with very small buffer sizes can cause regular hitches. If you use one, raise its buffer to 128 or 256 samples. Onboard audio drivers from the motherboard maker are also worth updating, since an old audio driver is a classic DPC culprit.
Fourth, test with a single monitor if you run two or more. Multi-monitor setups, especially with different refresh rates, are linked to DPC spikes from the display driver on some systems. If the stutter disappears on one monitor, you have found a real lead, and the fix may be matching refresh rates or updating the driver.
DPC latency is a diagnosis, not a guess. Run LatencyMon, find the named driver, and fix that driver. Guessing wastes hours.
Background Software, Overlays and Recording
High-end PCs run more software than budget PCs. RGB control apps, hardware monitors, fan controllers, voice chat, streaming tools, browser tabs, and game launchers all compete for CPU time. Any one of them can wake up at the wrong moment and steal the CPU core your game needs for a frame. The hitch is small, but it repeats, and it feels terrible.
Overlays are the worst offenders. Discord overlay, Steam overlay, the NVIDIA overlay, and the AMD overlay each hook into the game. Two overlays at once is a common setup and a common cause of stutter. Turn off every overlay you do not actively use. Test the game with all overlays off. If the stutter is gone, turn them back on one at a time until it returns. That one is your culprit.
Recording and streaming software also matters. Instant replay features constantly record in the background, which uses CPU, RAM, and storage bandwidth. If you do not need instant replay, turn it off. If you stream, use your GPU’s hardware encoder (NVENC on NVIDIA, AV1 or H.264 on AMD) instead of software encoding, so the CPU stays free for the game.
RGB and monitoring software deserves a special mention. Some motherboard and peripheral apps poll hardware constantly, which creates regular CPU spikes. The pattern is a hitch every few seconds, exactly matching the polling interval. Close these apps before gaming and see if the pattern disappears. You can also check Task Manager during a stutter: sort by CPU, and watch for an app spiking at the same moment the game hitches.
Finally, check Windows itself. Windows Update, antivirus scans, and cloud sync tools (OneDrive, Dropbox) can all start heavy work in the middle of a session. Pause syncing while you game, and set Windows Update active hours to cover your gaming time. A clean boot test is the fastest way to confirm a background cause: if the game is smooth after a clean boot with only the game running, add your apps back one at a time.
Driver Problems and HAGS
Drivers are the most common fix and the most common cause at the same time. A new driver can fix stutter. A new driver can also introduce it. That is why the rule is simple: update deliberately, never blindly, and always know how to go back.
Do a clean install when you update. Use Display Driver Uninstaller (DDU) in Safe Mode to remove the old driver completely, then install the new one. A standard update leaves old files behind, and old files cause conflicts. Get drivers only from the official source: the NVIDIA driver download page or the AMD driver download page. Our step-by-step guide walks through the safe process: how to update GPU drivers safely.
If stutter started right after a driver update, roll back. Keep the previous installer, or download the previous version from the maker’s archive, and clean install that. This single step fixes a surprising number of cases, because driver regressions are real and common.
AMD users should pay attention to one current issue. A recent AMD Radeon driver bug caused excessive SSD writes in the background, which can add storage load during gaming. A fix is coming in Adrenalin 26.11.1. If you are on an AMD card and your stutter appeared recently, check your driver version and update once the fixed driver is available. Do not assume your driver is fine just because it is new.
Hardware Accelerated GPU Scheduling, or HAGS, is a Windows setting that moves GPU scheduling from the CPU to a dedicated processor on the graphics card. It is required for frame generation on NVIDIA cards, and it can reduce input latency. But on some systems, especially with two or more monitors, turning HAGS off fixes stutter. It is a toggle worth testing both ways: try it on, try it off, and keep whichever is smoother in your games. Our guide explains the setting in full: hardware accelerated GPU scheduling.
One more driver note: chipset drivers matter too. Install the chipset driver from AMD or Intel for your motherboard, not just the GPU driver. An old chipset driver can cause storage and USB latency that looks exactly like game stutter.
RAM Speed, Timings, and Capacity
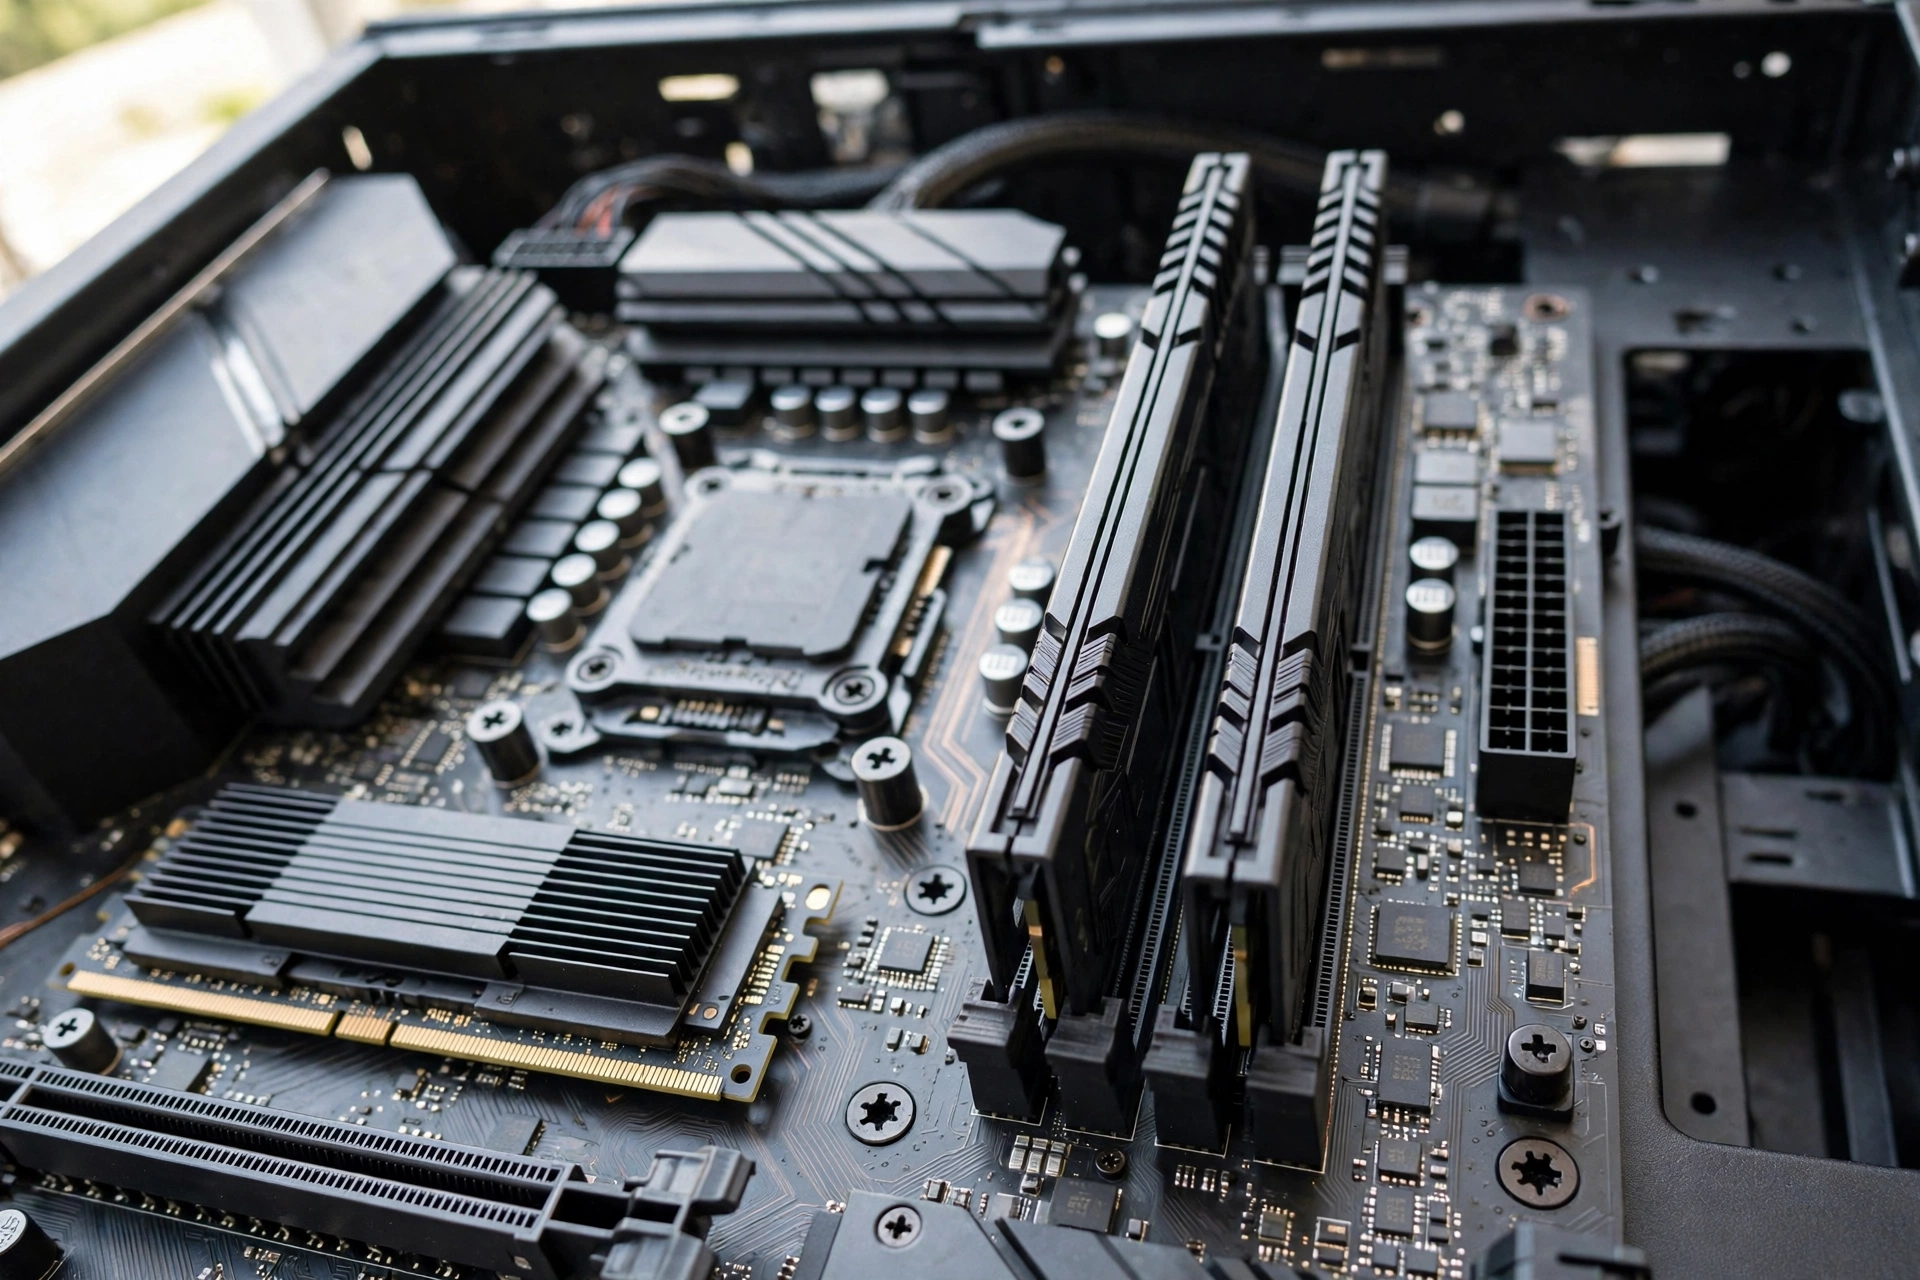
RAM is the most overlooked cause of stutter on high-end PCs. People buy fast RAM, install it, and never enable its rated speed. The RAM then runs at its slowest safe default until you turn on XMP on Intel or EXPO on AMD in the BIOS. Running DDR5 at its default 4800 MT/s instead of its rated 6000 MT/s can cost a noticeable chunk of gaming performance and visibly worsen your frame time lows. Check this first: open Task Manager, go to Performance, then Memory, and look at the speed. If it shows 4800 MT/s on a 6000 MT/s kit, XMP or EXPO is off. Turn it on in the BIOS.
Capacity matters too. Modern games plus Windows plus Discord plus a browser can use more than 16GB. When RAM fills up, Windows starts paging data to the storage drive, and every page fault is a potential hitch. The October 2026 Steam survey shows 16GB of RAM is still the most common setup at 41.42% of gamers, and the RTX 3060 is back on top of the GPU chart at 3.62%. That means a huge number of players are running modern games on 16GB, and many of them are closer to the edge than they think. If your RAM use sits above 90% during play, 32GB is the fix, not a luxury.
Timings matter less than speed and capacity, but they are not irrelevant. Very loose timings on a cheap kit can hurt frame time consistency. If you are buying RAM, look at both the speed and the CAS latency, and buy a matched kit of two sticks so the system runs in dual-channel mode. A single stick halves your memory bandwidth. Our guide explains the tradeoff: RAM speed vs CAS latency.
One practical warning: RAM prices have been soaring in late 2026, so an upgrade costs more now than it did a few months ago. Before you buy, confirm RAM is actually your problem. Check your RAM use and speed in Task Manager during a stuttering session. If use is under 80% and speed is correct, your money is better spent elsewhere.
A final RAM check: run a memory test if stutter appeared suddenly on a system that used to be smooth. Unstable RAM, especially an overclocked kit, can cause stutter before it causes crashes. Windows Memory Diagnostic is built in, and MemTest86 is the thorough option. If errors appear, drop the RAM to its stock speed and test again.
Storage, Asset Streaming and the Page File
Modern games stream assets constantly. As you move through an open world, the game loads textures, models, and audio from storage in the background. If that loading blocks the render thread, you get a hitch every time you cross into a new area. The pattern is the giveaway: stutter that repeats in the same place, every time, is streaming stutter.
The fix is a fast NVMe SSD, and the game must actually be installed on it. A game on a SATA SSD or a hard drive will stream slower, no matter how fast the rest of the PC is. Check where the game is installed. If it is on an old drive, move it. Also check that the SSD is not nearly full. SSDs slow down sharply when they are above about 90% full, because they have no free space to manage writes.
DirectStorage is the newer technology that lets the GPU decompress game assets directly, bypassing the CPU. Games that support it load faster and stutter less during streaming, but only on an NVMe SSD with the right Windows settings. If your game supports DirectStorage and still hitches on area transitions, confirm the game is on an NVMe drive and that Windows is up to date.
The page file is the other half of this section. When RAM fills up, Windows uses a page file on your storage drive as overflow. A page file on a slow drive turns every page fault into a visible hitch. The default Windows setting, letting the system manage the page file, is fine for most people, but two rules help: keep the page file on your fastest SSD, and do not disable it entirely. Disabling the page file is a common bad tip. Some games and apps expect it to exist, and removing it can cause crashes. Our guide covers the storage side in more depth: what is a storage bottleneck.
If you recently moved a game to a new drive, verify the game files afterward. A corrupted or incomplete move causes exactly this kind of stutter, and verification is free.
VSync, Frame Caps and Refresh Rate Mismatch
Sometimes the hardware and the software are both fine, and the problem is the handshake between the game and the monitor. If your monitor is 144Hz and the game renders at 200 FPS with VSync on, or at 90 FPS with no sync at all, frames and refreshes fall out of step. The result looks like stutter even though the frame times are healthy.
Variable refresh rate is the fix. G-Sync on NVIDIA and FreeSync on AMD let the monitor match its refresh rate to the frames the GPU delivers. Turn VRR on in your GPU driver and in the monitor’s on-screen menu, and make sure Windows is actually running at the monitor’s full refresh rate. Windows sometimes resets to 60Hz after a driver update, and a 144Hz monitor running at 60Hz feels awful for no hardware reason at all. Check it under Settings, then System, then Display, then Advanced display.
The standard setup that works for most people is: VRR on, VSync on in the GPU driver only (off in the game), and a frame cap a few FPS below the refresh rate. On a 144Hz monitor, cap at 141 FPS. On a 165Hz monitor, cap at 162 FPS. The cap keeps the game out of the VSync range, where input lag rises, and keeps frame times stable. Use the driver’s own frame cap (Max Frame Rate in the NVIDIA Control Panel, or Radeon Chill on AMD) or RivaTuner Statistics Server. Do not cap in two places at once.
Borderless windowed mode can also add stutter. Windows 11 has an “Optimizations for windowed games” setting that helps, but if a game stutters in borderless and is smooth in exclusive fullscreen, that is your answer. Test both modes. Some games also stutter when a second monitor runs at a different refresh rate, because Windows has to juggle two timings. If your second monitor is 60Hz and your gaming monitor is 144Hz, try unplugging the second monitor for one session as a test.
Thermals and Power Limits on Expensive Hardware
High-end parts use a lot of power and make a lot of heat. When a CPU or GPU gets too hot, it lowers its clock speed to protect itself. That is called thermal throttling. On a high-end PC the pattern is distinctive: the game is smooth for the first 10 to 30 minutes, then stutter creeps in as temperatures rise. If your stutter gets worse the longer you play, check temperatures before anything else.
Watch CPU and GPU temperatures and clock speeds under load with HWiNFO or your GPU maker’s tool. A GPU running above 83C or a CPU above 90C is throttling or close to it. The fix is airflow, not settings: clean dust filters, confirm fans are actually spinning, and check that the case has a sensible intake and exhaust layout. A hot graphics card can also heat the CPU, since they share the same case air. If you recently changed parts, confirm the CPU cooler is mounted firmly and the thermal paste is fresh.
Power limits are the quieter cousin of heat. A GPU with a low power limit will boost for a few seconds, hit the limit, and drop clocks in a repeating cycle. That cycle shows up as rhythmic stutter. Check whether your GPU is hitting its power limit in the overlay. If it is, raising the power limit in MSI Afterburner or your maker’s tool can smooth it out, as long as temperatures stay safe and your power supply has the headroom. A weak or aging power supply can cause the same pattern, because voltage droops under load. If stutter started after a GPU upgrade and the power supply is old, that is worth checking. Our guide on power supply warning signs covers it, but the short version is simple: a GPU upgrade that the power supply cannot feed will stutter before it crashes.
One more thermal note: stutter that appears only in summer, or only after you moved the PC into a closed cabinet, is almost always heat. Move the PC out, give it air, and retest before you change anything else.
The Fix Order Work Through This Checklist
If you read the whole guide and still are not sure where to start, use this order. It is arranged from the most common cause to the least common, and from the cheapest fix to the most expensive. Stop when the stutter is gone.
| Step | Action | Time Needed |
|---|---|---|
| 1 | Turn on XMP or EXPO in the BIOS, confirm RAM speed in Task Manager | 5 minutes |
| 2 | Update the GPU driver with a clean install (DDU in Safe Mode) | 20 minutes |
| 3 | Let the game’s shader precompilation finish, raise shader cache size | 10 minutes |
| 4 | Close overlays, RGB apps, and background software, then retest | 5 minutes |
| 5 | Check VRAM use in the overlay, lower texture quality one step if full | 5 minutes |
| 6 | Enable VRR, set a frame cap a few FPS below refresh rate | 5 minutes |
| 7 | Run LatencyMon for 15 minutes, fix the driver it names | 30 minutes |
| 8 | Move the game to a fast NVMe SSD with free space | 20 minutes |
| 9 | Check temperatures and clocks under load, fix airflow if hot | 15 minutes |
| 10 | Test HAGS on and off, keep whichever is smoother | 10 minutes |
Most people find the problem by step 4. If you reach step 10 and the stutter is still there, the cause is unusual, and the next section helps you decide whether it is a real fault.
Common Mistakes That Make Stutter Worse
A few popular tips actively make stutter worse. Avoid these.
Deleting your shader cache after every driver update is the biggest one. The cache exists to prevent recompilation. Deleting it forces a full rebuild and guarantees stutter on the next launch. Only delete the cache if a specific game tells you to, or if a corrupted cache is confirmed.
Setting every graphics option to Low does not fix stutter. Low settings shift work from the GPU to the CPU, because the GPU finishes frames faster and the CPU has to prepare them faster. On a high-end PC with a strong GPU, lowering settings too far can create a CPU bottleneck where none existed. Lower the specific setting that causes the problem, usually textures or ray tracing, and leave the rest alone.
Disabling the page file, as noted above, causes crashes and does not help performance. Leave it on, on your fastest SSD.
Reinstalling Windows is the last resort, not the first step. It fixes stutter only when the cause is a broken Windows install or a driver conflict you cannot find any other way. Try the checklist first. A clean boot test gives you most of the same information in ten minutes.
Finally, do not chase a single bad game. Some games ship with broken shader compilation or bad streaming, and no setting on your PC will fully fix them. If one game stutters and ten others are smooth, the problem is the game. Wait for a patch, and check the game’s own forums for a known workaround. For a broader look at why frame rates drop in general, see our guide on why your FPS is so low.
When Stutter Points to a Real Hardware Fault
Most high-end stutter is software. Sometimes it is not. Here are the signs that point to hardware.
Stutter that appears suddenly on a system that used to be smooth, with no driver update and no new game, points to something failing. Run a memory test, check the SSD’s health with its maker’s tool, and watch for clock drops that do not match temperatures. A dying SSD causes stutter that gets worse over weeks. Failing RAM causes stutter plus occasional crashes.
Stutter plus artifacts, colored squares, or driver crashes points to the graphics card itself. Try the card in another PCIe slot, or test with a different card if you can borrow one. A card that stutters and crashes under load but is fine at idle is often a power delivery problem on the card or a failing power supply.
Stutter in every game and on the desktop, even in Windows menus, points to a system-wide problem: a bad driver, a failing drive, or a Windows install that needs repair. Start with the driver and storage checks, not with game settings.
If you suspect the CPU is the limiter rather than the GPU, our guide on how to fix a CPU bottleneck walks through confirming it with per-core usage before you spend money on an upgrade. Never buy a part to fix stutter until you have a measurement that names the part.
Frequently Asked Questions
Why is my game stuttering on a high-end PC?
A high-end PC stutters for software reasons, not because the hardware is weak. The most common causes are shader compilation in DirectX 12 games, VRAM spilling into system RAM, DPC latency from a driver, background apps stealing CPU time, or RAM running at the wrong speed. Diagnose the pattern first, then apply the matching fix. Buying a faster graphics card will not fix any of these.
Why do I have stuttering even with a powerful PC?
Raw power does not prevent stutter, because stutter is about timing, not speed. Your GPU can render 150 frames per second and still deliver them unevenly if a shader needs compiling, a driver holds the CPU too long, or a texture arrives late from system RAM. Smooth gaming needs even frame delivery, which is measured by 1% lows, not by the average frame rate.
Can a high-end PC still stutter?
Yes. Any PC can stutter, no matter how expensive the parts are. The causes are usually in the software layer around the hardware: drivers, Windows settings, game engines, and background apps. A strong PC stutters less often than a weak one, but when it does, the fix is almost always a setting or a driver, not a new part.
Is shader compilation stutter normal, or is my PC broken?
It is normal, and it is not a sign that your PC is broken. DirectX 12 and Vulkan games compile shaders on first use, and that work briefly blocks the render thread. The stutter fades as the shader cache builds, and it returns briefly after a driver update because the cache has to rebuild. If the hitches never repeat in the same spot and they improve over a session, it is shader compilation. Let precompilation finish and raise your shader cache size.
Why does my PC stutter in only one game?
When one game stutters and others are smooth, the cause is usually that game’s engine, its settings, or its shader cache. Some games handle shader compilation badly, some stream assets poorly, and some have a known bug that a patch fixes. Verify the game files, let its shader precompilation finish, and check its settings, especially texture quality and ray tracing. If the problem is the game itself, a patch is the real fix.
Can RAM speed cause stuttering?
Yes. RAM running at its default speed instead of its rated speed can hurt frame time consistency, and the effect is real on high-end builds. DDR5 kits ship running at 4800 MT/s until you enable XMP or EXPO in the BIOS, even if the kit is rated for 6000 MT/s. Capacity matters too: if RAM use goes above 90% during play, Windows starts paging to storage, and every page fault can hitch a frame. Check both speed and use in Task Manager while you play.
Key Takeaways
- Stutter is uneven frame delivery, not low frame rate. Watch 1% lows, not the average.
- Shader compilation is the most common cause on high-end PCs. Let precompilation finish and raise the shader cache size.
- Full VRAM spills textures into system RAM. Lower texture quality one step if VRAM use touches the limit.
- A regular hitch every few seconds points to DPC latency or a background app. Run LatencyMon and close overlays.
- RAM at the wrong speed is a silent cause. Turn on XMP or EXPO and confirm the speed in Task Manager.
- Drivers can fix stutter or cause it. Clean install, and roll back if a new driver made things worse.
- VRR plus a frame cap a few FPS below refresh rate fixes most frame pacing problems.
- Diagnose first, change one thing at a time, and stop when the stutter is gone.
Conclusion
A high-end PC that stutters is not a broken PC. It is a fast PC with an interruption somewhere in the pipeline: a shader waiting to compile, a texture waiting on system RAM, a driver holding the CPU, or a background app waking at the wrong moment. The hardware you bought is fine. The fix is finding the interruption and removing it.
Start with the diagnosis table. Match your pattern, apply the matching fix, and test before you change anything else. Most people find the cause within the first four steps of the checklist: RAM speed, a clean driver install, shader precompilation, and closing background software. The rest of the guide is there for the stubborn cases, and they do exist.
Keep one habit after you fix it. Watch your 1% lows, not just your average FPS. The average tells you how fast your PC is. The lows tell you how smooth it feels. On a high-end build, smoothness is the whole point, and now you know how to protect it.

Leave a Reply