

Your game stutters. Your frame rate drops in busy scenes. Your expensive graphics card feels slow, and you are not sure why. In many cases, the cause is a bottleneck, and the fix does not start with a new part. A bottleneck happens when one part of your PC holds back another part. Your CPU may be too slow to feed data to your graphics card. Or your graphics card may be too slow to draw the frames your CPU has already prepared. Either way, your PC can only move as fast as its slowest important part in that game.
The good news is that many bottleneck problems can be improved with free changes. You can close apps, change the right settings, cap your frame rate, update your drivers, and turn on upscaling. You only need to spend money when those free fixes do not reach the smooth play you want.
This guide shows you how to fix a CPU bottleneck and how to fix a GPU bottleneck, step by step. It also shows you how to tell which one you have, what not to change, and when an upgrade is the right call. Start with the free fixes first, test after each change, and keep the changes that help.
First Find Out Which Part Is the Limit
Do not guess. Do not buy a new part before you know which part is holding you back. A wrong upgrade can cost a lot of money and change nothing, because the new part will just wait for the same slow part as before. The simplest check is to watch CPU and GPU use while you play. Use a monitoring tool such as MSI Afterburner, your graphics driver overlay, or Windows Task Manager. The NVIDIA App overlay can show FPS, CPU and GPU use, and latency while you play. Play a demanding part of a game for a few minutes, not just the main menu, and watch the numbers in real play.
If your CPU is near its limit while your GPU has a lot of room left, you likely have a CPU bottleneck. Your processor is maxed out and struggling to feed data to your graphics card. If your graphics card is near 99 percent use while your CPU has room left, you likely have a GPU bottleneck. Your graphics card is working as hard as it can, and it is the part that sets your frame rate.
If you want a fuller list of signs before you start, read our guide to the common signs of a PC bottleneck. It will help you match what you see on screen to the part that is most likely causing it. For the full picture of each type, see our guide to the types of PC bottlenecks.
| What you see while playing | What it often means | What to fix first |
|---|---|---|
| CPU use is high, GPU use is low, frames drop in busy scenes | CPU bottleneck | CPU settings, background apps, frame rate cap |
| GPU use is near 99 percent, CPU use is lower, frames are low | GPU bottleneck | GPU settings, upscaling, drivers |
| Frames are low in every game, even on low settings | Weak part for your target, or a strong bottleneck | Check both parts, then settings |
| Frames start fine, then drop after some time | Heat, background apps, or a driver issue | Cooling, background apps, drivers |
| Frames are high but play feels choppy | Uneven frame times, not just low FPS | Frame rate cap, background apps, settings |
Use this table as a starting point, not as a final verdict. One game can be CPU heavy while another game on the same PC is GPU heavy. Test in the game that bothers you most, because that is the game you want to fix.
The Fix Order That Saves You Money
Fixing a bottleneck does not mean throwing money at new hardware right away. Try the free fixes first. Then try the low cost checks. Only then think about an upgrade.
Here is the order that works for most players:
- Close background apps and stop background downloads.
- Update your graphics drivers.
- Change the settings that match your bottleneck type.
- Cap your frame rate to a level your PC can hold.
- Turn on upscaling if you have a GPU bottleneck and your game supports it.
- Check cooling and dust if your PC slows down over time.
- Upgrade only the part that is the limit, after the free fixes have been tested.
Change one thing at a time when you can. If you change five settings at once and the game feels better, you will not know which change helped. If the game feels worse, you will not know which change hurt. One change, one short test, one clear result. That simple habit saves a lot of time.
How To Fix CPU GPU Bottleneck
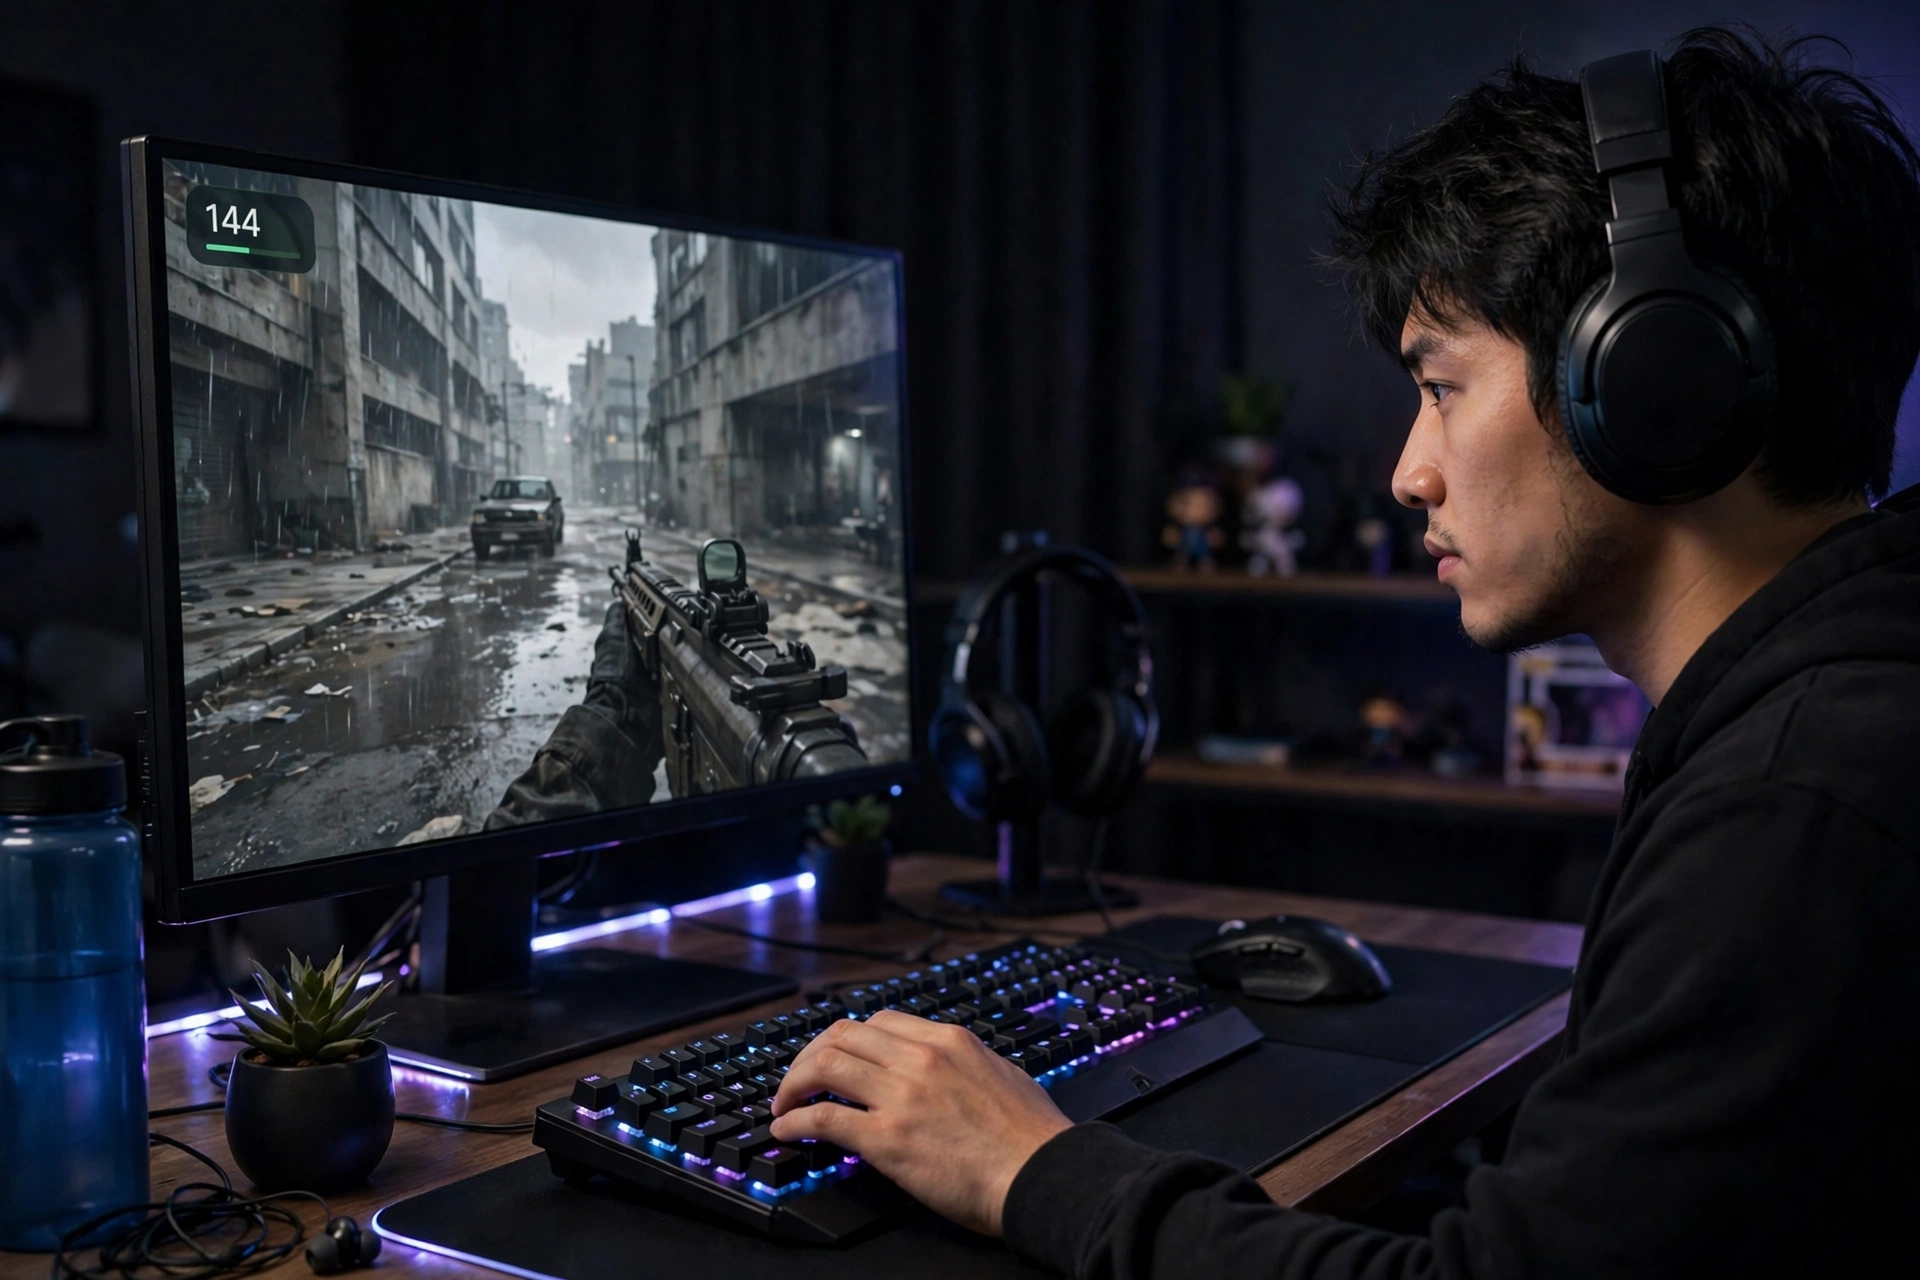
A CPU bottleneck happens when your processor is maxed out and struggling to feed data to your graphics card. The CPU does the game logic. It works out where things are, runs the physics, handles the non player characters, and tells the GPU what to draw. When the CPU cannot finish that work fast enough, the GPU waits. Your frame rate stays capped by the CPU, even if your graphics card is strong.
You may see low GPU use, high CPU use, and frame drops in crowded scenes. Open world games, large battles, and games with many characters on screen can make this worse. Lowering the wrong settings will not help, because many graphics settings load the GPU, not the CPU. You need to lower the work that the CPU does.
Raise Resolution and Visuals the Right Way
Bumping resolution from 1080p up to 1440p, or cranking up visual settings, does not fix a CPU bottleneck. This point matters, because many guides get it wrong. Raising the resolution shifts more rendering workload to the GPU. It may smooth frame times, because the GPU now has more work to do in each frame and the pace of frames can feel more even. But FPS stays capped by the CPU. The CPU still has to prepare each frame, and its speed has not changed.
So why do people suggest it at all? It can help you get more value from your GPU while you are CPU limited. If your CPU can only prepare a certain number of frames each second, you can use the spare GPU power to make those frames look better. Raise the resolution or raise GPU heavy visual settings, and you may get a sharper image at about the same frame rate. That is a fair trade in some games, but it is not a fix for the CPU limit itself.
Do not raise the resolution if your GPU is already near its limit, or if your monitor cannot show the higher resolution well. And do not expect a higher frame rate from this step alone. For a real frame rate gain in a CPU bottleneck, use the fixes below, and think about a CPU upgrade only if those fixes do not reach your target.
If you want to learn more about how resolution changes the balance between CPU and GPU, read our guide on monitor resolution and bottleneck at 1080p, 1440p, and 4K.
Cap Your Frame Rate
An uncapped game can ask your CPU to prepare far more frames than your monitor can show. That extra work is wasted, and it can make your CPU run hot and your frame times feel uneven. Capping your frame rate is a simple, free fix that can make play feel smoother right away.
Limit FPS in game settings or in your display drivers to match your monitor refresh rate. For example, if you have a 144 Hz monitor, try locking the frame rate to 144 FPS. If your PC cannot hold 144 FPS in that game, try a lower cap that it can hold in a steady way, such as 120 FPS or 90 FPS or 60 FPS. A steady frame rate often feels better than a high frame rate that jumps up and down.
Set the cap in the game first, because the in game limiter is often the smoothest choice. If the game has no limiter, use your graphics driver settings. In the NVIDIA app or in AMD Software, look for a max frame rate setting and set it to the same target. Then test in real play for a few minutes. If the game feels smoother and your CPU use drops a little, keep the cap.
Do not cap your frame rate below what feels good to you just to make the numbers look neat. The goal is smooth play you can feel, not a perfect graph. And remember, a cap does not make your CPU faster. It stops your processor from churning out useless extra frames that your screen cannot show.
Turn Down CPU Heavy Settings
This is one of the best free fixes for a CPU bottleneck, but only if you lower the right settings. Many players lower texture quality first, and then wonder why nothing changed. Texture quality mostly loads the GPU, not the CPU. You need to lower the settings that calculate game logic.
Start with these CPU heavy settings:
- NPC crowd density, or the number of characters on screen.
- Physics detail, or how the game simulates movement, collisions, and effects.
- Draw distance, or how far ahead the game draws objects and terrain.
- Ray tracing, which can add CPU work in some games as well as GPU work.
- Shadow detail and simulation quality, where the game has a CPU heavy option.
Drop one or two of these from Ultra to High, or from High to Medium, and test again. In a crowded scene, you should feel the change more clearly than in a quiet scene. If a setting has almost no visual change but helps smoothness, keep it lower. Your goal is a game that looks good and plays well, not a game that has every slider at the top.
Some games label settings in a clear way, and some do not. If a setting mentions crowd, population, physics, simulation, AI, or view distance, it is a good place to start. If a setting mentions textures, anti-aliasing, or post effects, it is more likely to load the GPU, so leave it for the GPU section below.
Kill Background Apps
Your game is not the only program using your CPU. Browser tabs, chat apps, streaming tools, launchers, cloud sync, antivirus scans, and background downloads all compete for the same processor time. On a PC with limited cores, that extra work can be enough to turn a small CPU bottleneck into a clear one.
Before you start a game, close memory hungry software you do not need. Close Chrome tabs, especially tabs with video playing. Close Discord overlays if you do not need them during play. Pause background downloads, game updates, and cloud backups. Close recording software if you are not recording. If you stream, use GPU based encoding where your setup supports it, because CPU based encoding fights the game for the same cores.
Open Task Manager with Ctrl, Shift, and Esc, click the Processes tab, and sort by CPU. Look for apps using a clear share of CPU while you play. Close the ones you know and do not need. Do not end processes you do not know, and do not end Windows, security, driver, or hardware processes. If you are unsure about a process, leave it alone and close the app from its own window instead.
Also check your startup apps. Many apps start with Windows and sit in the background all day. Turn off the ones you do not need at startup, and your PC will have more free CPU time when you start a game. This is a small job, but it can make a real difference on a busy system.
Hardware Upgrade for a CPU Bottleneck
If software tweaks do not cut it, look into upgrading to a CPU with stronger single core speed or extra cores built for modern gaming. Single core speed matters a lot, because much game logic still runs in a chain that cannot be split across many cores. Extra cores help when you play while other apps run, or when a game can use more threads.
Before you buy, check three things. First, check your motherboard and socket, because a new CPU must fit your board and work with your BIOS. Second, check your RAM speed and setup, because slow RAM or a single stick can make a CPU bottleneck worse. Third, check your cooling, because a faster CPU can run hotter, and a hot CPU can slow down to protect itself.
Current upgrade paths also depend on your platform. AMD Ryzen 7000 and Ryzen 9000 Series CPUs use socket AM5 with DDR5 memory, so a newer AM5 CPU can often fit the same board after a BIOS update, but always check your board maker CPU support list first. Intel Core Ultra 200S desktop CPUs use socket LGA1851 with an 800 series board and DDR5 memory only, so they do not fit an older LGA1700 board and they cannot reuse DDR4 memory. That platform change can add the cost of a board and memory to a CPU upgrade, so check it before you set a budget.
Do not buy a new CPU just because a calculator gave you a high bottleneck number. Test in your real games first, after the free fixes. If your CPU is still at its limit in the games you play most, and you have tried the settings and background app fixes, then an upgrade is a fair next step. If you want to see how other players have paired parts, read our real PC bottleneck build examples.
How to Fix CPU or GPU Bottleneck
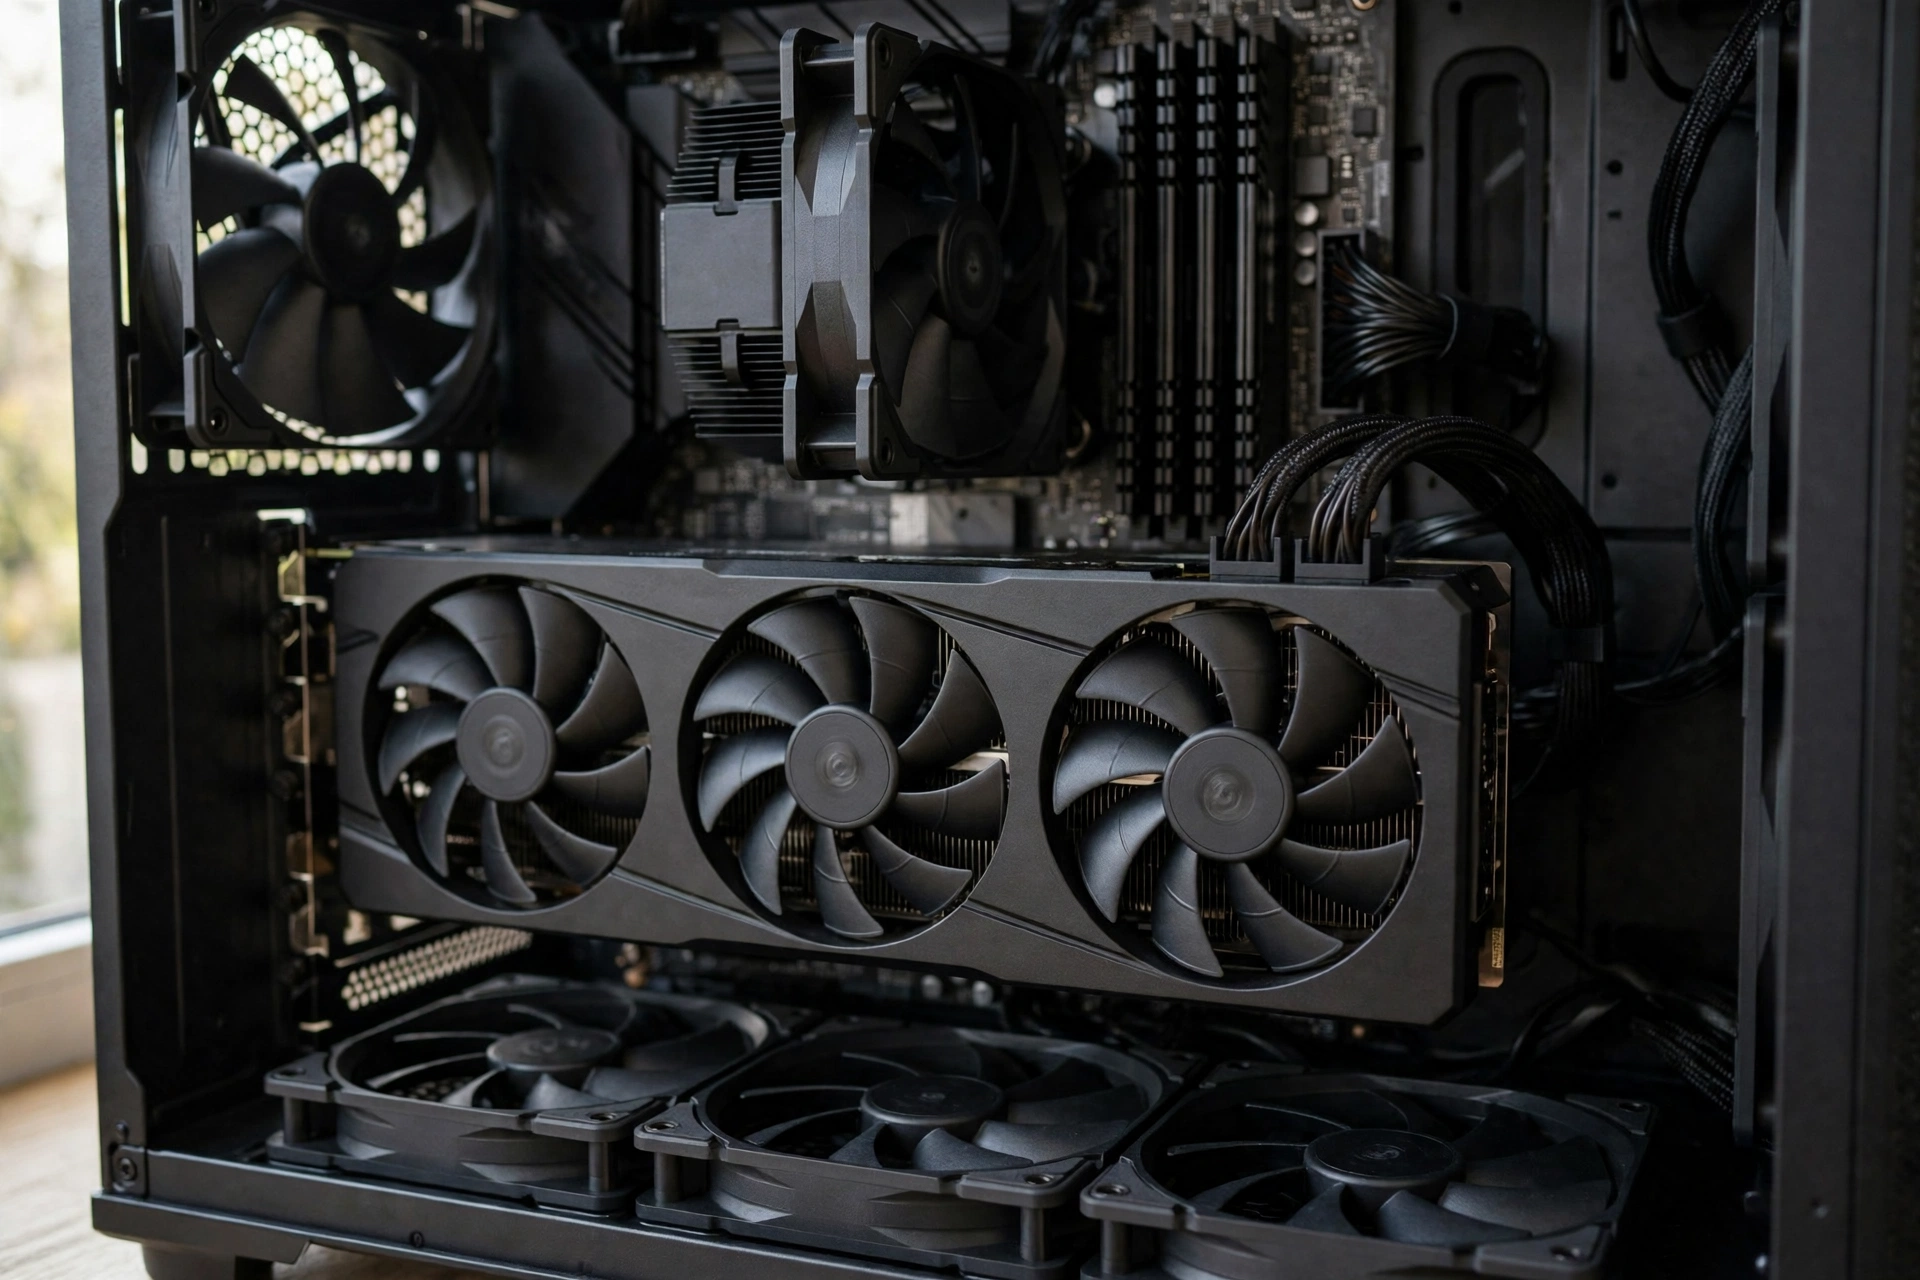
A GPU bottleneck happens when your graphics card hits 99 percent use and causes low FPS or choppy frames. The CPU has prepared the work, but the GPU cannot draw it fast enough. This is common at high resolution, with high texture settings, or with heavy effects such as ray tracing.
A GPU bottleneck is not always a problem. If your GPU is at full load and you are happy with your frame rate and your image quality, you do not need to fix it. Your graphics card is doing its job. You need a fix when FPS is too low for you, when frames feel choppy, or when you have to drop image quality so far that the game stops looking good.
The fixes below are in a useful order. Start with upscaling and settings, because they are free and fast. Then update your drivers. Then think about a safe overclock, and only then think about a new graphics card.
Turn On Upscaling
Upscaling is often the best free FPS gain for a GPU bottleneck. Enable DLSS or FSR or Intel XeSS in the game menu to render frames at a slightly lower internal resolution without losing much visual sharpness. The game renders a smaller image, then rebuilds it to your display resolution with smart detail work. The GPU has less raw work to do, so it can draw frames faster.
Which one you use depends on your graphics card and your game. DLSS is made by NVIDIA and works on supported NVIDIA RTX cards. FSR is made by AMD. Intel XeSS works on Intel Arc cards and can also work on other modern cards. Check your game settings first, because the game must support the option before you can turn it on.
As of November 2026, the current versions are DLSS 4, FSR 4, and XeSS 2. DLSS 4 launched in January 2025 with a transformer based Super Resolution model and Multi Frame Generation. Multi Frame Generation can generate up to three extra frames for each rendered frame, but it works only on GeForce RTX 50 Series cards. DLSS Super Resolution works on all GeForce RTX cards, and standard Frame Generation works on RTX 40 Series and RTX 50 Series cards.
FSR 4 launched in February 2025 with the Radeon RX 9000 Series cards built on AMD RDNA 4. It is a machine learning upscaler, and AMD has since renamed it FSR Upscaling and extended it to Radeon RX 7000 Series cards. Older FSR versions still work on a wide range of cards, including cards from other makers, so check which version your game offers before you expect the newest quality.
XeSS 2 launched in December 2024 with Intel Arc B Series cards and added Frame Generation and Xe Low Latency on top of XeSS Super Resolution. It also works on older Arc A Series cards. Frame generation can make motion look smoother, but it does not cut input lag, because the generated frames do not respond to your input. If your game offers a low latency option such as NVIDIA Reflex, AMD Anti-Lag, or Xe Low Latency, turn that on with frame generation.
Start with Quality mode if your game offers it. Quality mode gives a good balance of speed and image clarity. Balanced mode gives more speed with a little less sharpness. Performance mode gives the most speed, but the image can look softer, so use it only if you need the extra frames. Do not jump straight to the fastest mode. Try Quality first, play for a few minutes, and see if the game feels smoother without looking worse to you.
For the official explanation of how Intel XeSS works, see Intel Xe Super Sampling.
Upscaling helps a GPU bottleneck, but it does not help a CPU bottleneck in the same way. If your CPU is the limit, lowering the GPU load will not make the CPU prepare frames faster. That is why you need to know which part is the limit before you change settings.
Lower GPU Heavy Graphics
When your GPU is the limit, lower the settings that load the GPU most. Drop pixel heavy options like texture quality, motion blur, anti-aliasing, and ambient occlusion from Ultra down to High or Medium. These settings can look good at High, and the speed gain can be clear.
Try this order, because it gives you a good return for a small visual cost:
- Lower ray tracing first, or turn it off, if your game has it. Ray tracing is one of the heaviest GPU effects.
- Lower shadow quality and shadow distance.
- Lower anti-aliasing, or switch to a lighter anti-aliasing option.
- Lower ambient occlusion and post effects.
- Lower texture quality last, and only if you need more speed or if VRAM is full.
Keep texture quality as high as your VRAM allows when you can. Dropping textures too early can make the game look blurry without freeing much GPU compute, if VRAM was not the problem. Watch for texture pop in, stutter, and sudden frame drops, because those signs can point to VRAM pressure rather than raw GPU speed. If dropping texture quality from Ultra to High fixes stutter without changing anything else, VRAM was likely part of the problem.
Lower your resolution only if the steps above do not help enough. Dropping from 4K to 1440p, or from 1440p to 1080p, is a direct cut in GPU load. It will make the image softer, so try it after the other settings. If lowering resolution barely helps, go back and check whether you are actually CPU limited instead.
Keep Drivers Updated
Always run the latest graphics drivers from the NVIDIA App or AMD Software: Adrenalin Edition for fresh game optimizations. New drivers often include fixes for new games, better stability, and small speed gains in popular titles. Old drivers can cause crashes, stutter, and low FPS in a new game, even when your hardware is fine.
For NVIDIA cards, open the NVIDIA App and check the Drivers tab. The NVIDIA App is the current NVIDIA companion app. It replaced GeForce Experience, which NVIDIA no longer supports, and it also lets you update supported games to the latest DLSS features with DLSS Override. For Intel Arc cards, use Intel Graphics Software with the latest Intel Arc driver from Intel. For AMD cards, open AMD Software: Adrenalin Edition and check for updates, or get the latest package from AMD Drivers and Support. Download drivers only from the maker, or from your PC maker if you have a laptop with a maker tuned driver. Do not download drivers from random sites, because a wrong or tampered driver can cause more harm than an old driver.
If a new driver causes a problem, you can roll back to the last driver that worked well for you. Note the driver version that worked, and test the new driver in one game before you change other settings. That way you will know if the driver was the cause, not a setting you changed at the same time.
Overclock Your Graphics Card
Overclocking means running your graphics card a little faster than its stock speed. Use tools like MSI Afterburner to safely squeeze a bit of extra clock speed out of your GPU, provided your cooling can handle it. This can give a small gain, but it is not a magic fix, and it carries risk if you push too far.
MSI Afterburner is still the usual tool for this job in 2026. It is free, it works with graphics cards from all brands, and the current stable build listed by MSI is 4.6.6 Final, with a 4.6.7 beta also listed. Download it only from MSI or Guru3D, because fake download sites have spread modified installers. If you do not want to set clocks by hand, run the built in OC Scanner first. It tests your card and suggests a curve, then you can test that result in a game before you change anything else.
Follow these safety rules:
- Make small changes only. Raise the clock in small steps, and test after each step.
- Watch temperatures. If your GPU gets too hot, stop and go back to stock settings.
- Watch for crashes, visual glitches, or strange colors. Those are signs you have pushed too far.
- Follow manufacturer guidance for your card, and do not change voltage unless you know what you are doing.
- Make sure your power supply can handle the extra load, and that your case has good airflow.
If overclocking makes your PC unstable, return to stock settings right away. A small gain is not worth crashes in the middle of a game. If you are not comfortable with overclocking, skip this step. The settings, upscaling, and driver fixes above will help most players more than a small overclock will.
Overclocking can also void a warranty in some cases, so check your card maker guidance before you start. When in doubt, stay at stock speed and use the free fixes in this guide instead.
Hardware Upgrade for a GPU Bottleneck
If you are consistently running out of VRAM or low settings still feel sluggish, a GPU upgrade is the best long term option. VRAM is the memory on your graphics card that holds textures and frame data. If you run out of VRAM at your resolution and texture settings, the game has to move data more slowly, and you can get stutter even when the GPU itself is not fully loaded.
As of November 2026, the current GPU generations are the NVIDIA GeForce RTX 50 Series, launched in January 2025 on the Blackwell design, and the AMD Radeon RX 9000 Series, launched in February 2025 on RDNA 4. The RX 9070 and RX 9070 XT launched with 16GB of memory. A newer card is not always the right pick on its own. Match the card to your resolution, your target frame rate, and your CPU, and check the power supply and case size first.
Before you buy a new graphics card, check your target. What resolution do you play at? What frame rate do you want? What games do you play most? A card that is strong at 1080p may still struggle at 4K with Ultra textures. Match the card to your monitor and your games, not just to a brand name.
Also check your power supply, your case size, and your CPU. A new GPU needs enough power, enough room, and a CPU that can feed it. If your CPU is old and slow, a much faster GPU may just wait for the CPU, and you will have swapped a GPU bottleneck for a CPU bottleneck. That is why the check at the start of this guide matters so much.
Use our calculator to test your planned pair before you buy. Read how the score works in our guide on how the bottleneck calculator works and what the score means, then test your CPU and GPU pair at 1080p, 1440p, and 4K on the homepage. A little planning before a purchase can save you from buying the wrong part.
What Not to Do When You Have a Bottleneck
Many bottleneck fixes fail because the player changes the wrong thing. Avoid these common mistakes:
- Do not lower all settings at once. You will lose image quality you did not need to lose, and you will not learn which setting helped.
- Do not raise resolution to fix a CPU bottleneck and expect more FPS. It can make the image better at the same FPS, but it does not make the CPU faster.
- Do not lower resolution to fix a CPU bottleneck. It barely changes the CPU work per frame, and it can make the CPU limit more clear.
- Do not buy a new GPU to fix a CPU bottleneck. The new card will wait for the same slow CPU.
- Do not buy a new CPU to fix a GPU bottleneck. The new CPU will wait for the same slow GPU.
- Do not overclock as your first fix. Try the free settings first, and only overclock with care and good cooling.
- Do not trust a single bottleneck number from one tool. Test in your real games, with your real settings, and watch CPU and GPU use together.
If you avoid these mistakes, you will spend less money and get a smoother game faster.
CPU Upgrade or GPU Upgrade A Simple Guide
Use this table after you have tried the free fixes. It will help you pick the right upgrade, not just the most popular one.
| Your test result | Free fixes tried | Best next step |
|---|---|---|
| CPU high, GPU low, frames capped in busy scenes | Background apps closed, CPU settings lowered, frame rate capped | CPU upgrade with stronger single core speed |
| GPU near 99 percent, CPU low, frames low | Upscaling on, GPU settings lowered, drivers updated | GPU upgrade, or a GPU with more VRAM |
| VRAM full, textures pop in, stutter at high settings | Texture quality lowered, resolution lowered | GPU with more VRAM for your resolution |
| Frames low in one game only, fine in other games | Game settings lowered, drivers updated | Check that game first, do not upgrade yet |
| Frames drop after 20 minutes of play | Cooling checked, dust cleaned, background apps closed | Fix cooling and airflow before any upgrade |
If you are still unsure, test your exact pair in the calculator before you buy. A planned upgrade is better than a rushed upgrade, and it is easier to explain to yourself later when the game runs well.
Test After Each Change
A fix only counts if you test it in the game that had the problem. Use this short test each time:
- Pick one game and one busy scene that showed the problem.
- Change one setting, or one group of settings, and note what you changed.
- Play the same scene for a few minutes and watch CPU use, GPU use, and how smooth the game feels.
- Keep the change if the game feels better and the numbers look better.
- Undo the change if the game feels worse, looks much worse, or crashes.
Keep a short note of what helped. It can be as simple as a line in your phone notes: crowd density High to Medium, smoother in town; DLSS Quality on, faster in open world; frame rate cap 120, steadier. That note will help you next time a new game feels slow, because you will already know what worked on your PC.
Frequently Asked Questions
How do I know if I have a CPU bottleneck or a GPU bottleneck?
Watch CPU and GPU use while you play a demanding part of a game. If your CPU is near its limit and your GPU has room left, you likely have a CPU bottleneck. If your GPU is near 99 percent use and your CPU has room left, you likely have a GPU bottleneck. Test in the game that bothers you most, and test in real play, not just in a menu.
Can raising the resolution fix a CPU bottleneck?
No. Raising resolution from 1080p to 1440p shifts more work to the GPU and may smooth frame times, but it does not make the CPU faster. Your FPS stays capped by the CPU. You can use the spare GPU power to make the image look better at the same frame rate, but that is not the same as fixing the CPU limit. To fix a CPU bottleneck, close background apps, lower CPU heavy settings, cap your frame rate, and upgrade the CPU only if those steps do not help.
Is a GPU at 99 percent use a problem?
Not by itself. A GPU at near full use often means your graphics card is doing its job and your CPU is feeding it well. It is a problem only when your FPS is too low, frames feel choppy, or image quality is below what you want. If you are happy with how the game looks and feels, you do not need to fix a full GPU load.
Will DLSS, FSR, or XeSS fix a CPU bottleneck?
No, not in the way most players hope. The current versions are DLSS 4, FSR 4, and XeSS 2, and the same limit applies. DLSS, FSR, and Intel XeSS reduce GPU rendering work by rendering at a lower internal resolution and rebuilding a sharper image. That helps a GPU bottleneck. It does not make the CPU prepare frames faster, so it will not raise a CPU capped frame rate by itself. Use upscaling for a GPU limit, and use the CPU fixes in this guide for a CPU limit.
Should I overclock my GPU to fix a bottleneck?
Only if you are comfortable with the risk and your cooling can handle it. Overclocking can give a small gain, but it can also cause heat, crashes, and visual glitches if you push too far. Make small changes, test after each step, watch temperatures, and follow manufacturer guidance. If you are not sure, skip overclocking and use upscaling, lower GPU settings, and updated drivers instead. Those free fixes help more players, with less risk.
When should I upgrade my CPU or GPU?
Upgrade when free fixes have been tested and still do not reach your target. Upgrade the CPU when the CPU is at its limit and the GPU has room left. Upgrade the GPU when the GPU is at its limit, when VRAM runs out often, or when low settings still feel slow. Before you buy, check that the new part fits your motherboard or case, that your power supply can handle it, and that the other part will not become the new limit right away.
Conclusion
You do not need to buy a new PC to fix most bottleneck problems. Start by finding which part is the limit. Then try the free fixes that match that part. For a CPU bottleneck, close background apps, lower CPU heavy settings, cap your frame rate, and use your spare GPU power to improve image quality without expecting more FPS from resolution alone. For a GPU bottleneck, turn on upscaling, lower GPU heavy settings, update your drivers, and think about a careful overclock only if your cooling can handle it.
Test after each change, keep what helps, and undo what does not. If the free fixes do not reach the smooth play you want, upgrade only the part that is the limit, and check your planned pair before you spend money. That simple order, free fixes first, then a planned upgrade, will give you smoother games without wasting money on the wrong part.
Use the calculator on the homepage to test your CPU and GPU pair, read the types of PC bottlenecks guide to learn the full picture, and come back to this guide when a new game feels slow. Your next fix may already be in your settings, waiting for one small change.

Leave a Reply