

Learning how to build a gaming pc is less about memorizing part names and more about making one good decision after another. Every part you choose either helps the rest of the system or quietly holds it back. A balanced build feels smooth, stable, and responsive. An unbalanced build can stutter, load slowly, or leave an expensive graphics card waiting for data it never receives in time.
This guide walks through the whole build in order: planning, part selection, assembly, first boot, driver and BIOS checks, and bottleneck testing. It is written for a first time builder, but the same logic applies if you are rebuilding or upgrading. Where a topic needs deeper detail, this guide links to a focused guide on this site instead of repeating that guide in full.
Start With Your Target, Not a Parts List
Do not start by picking a graphics card because it looks impressive. Start by answering three questions in this order.
First, what resolution and refresh rate will you actually play at? A 1080p monitor, a 1440p monitor, and a 4K monitor place very different demands on a PC. Second, what kinds of games do you play most? Fast competitive games reward high frame rates and a strong CPU. Large open world games reward a capable graphics card, enough memory, and fast storage. Third, how long do you want this build to last before a major upgrade? A longer horizon usually means a newer platform and a little more headroom in the power supply and motherboard, not necessarily the fastest part in every category.
Write those answers down before you shop. They become your filter. If a part does not serve your resolution, your games, or your upgrade plan, it is a distraction, even if it is popular. A good build is not a collection of the best parts you can afford. It is a set of parts that work well together at the target you chose.
Plan a Balanced Build Before You Buy
A bottleneck happens when one part limits the rest of the system. In gaming, the most talked about example is a CPU that cannot prepare frames fast enough for the graphics card, or a graphics card that cannot keep up with the CPU. Other parts can limit performance too. Slow single channel memory, a full hard drive used for games, an underpowered or unreliable power supply, and poor cooling can all turn a strong core build into a frustrating one.
Balance does not mean spending the same amount on every part. It means matching parts to the job they will do together. The CPU and graphics card should sit in a similar performance tier for your resolution. The memory should be fast enough and large enough that it never becomes the obvious weak link. Storage should be fast enough that loading and streaming game assets do not cause hitches. Cooling should keep temperatures steady under load, because sustained heat can reduce performance over a long session.
Before you buy, check compatibility in four places: the CPU socket and chipset on the motherboard, the memory type and speed the motherboard and CPU support, the physical size of the graphics card and cooler compared with the case, and the power supply wattage and connectors compared with the graphics card requirements. Most beginner mistakes come from skipping one of these checks, not from choosing a slightly slower part.
For a clear method to check an existing system, read how to find a bottleneck in your PC. That guide explains the signs to look for and why a single percentage number never tells the whole story.
Choose a CPU and GPU by Resolution
Resolution changes the balance of work in a gaming PC. At 1080p, the CPU does relatively more work because the graphics card finishes each frame faster. At 1440p, the graphics card carries more of the load. At 4K, the graphics card usually dominates, although the CPU still matters for frame pacing, complex scenes, and games with heavy simulation or many characters on screen.
Use the table below as a planning guide, not as a promise of a specific frame rate. Actual performance always depends on the game, the settings, the specific parts, and the rest of the system.
| Resolution | Planning priority | Common pitfall to avoid |
|---|---|---|
| 1080p | A capable modern CPU paired with a midrange graphics card | A very strong graphics card held back by an old or weak CPU |
| 1440p | A balanced midrange to upper midrange pairing | Saving on memory or storage while overspending on the graphics card |
| 4K | A strong graphics card with a solid CPU behind it | Assuming a high end graphics card alone guarantees smooth play |
For 1080p gaming, do not pair a flagship graphics card with a budget processor from several generations ago and expect the card to do all the work. For 1440p, aim for a pairing where neither part is dramatically stronger than the other. For 4K, the graphics card matters most, but a weak CPU can still cause uneven frame times, especially in CPU heavy scenes.
When you compare specific combinations, use published reviews and the pairing guides on this site rather than a single calculator score. A calculator can be a useful starting point, but real game testing shows how a pairing behaves across different games and settings. For the difference between the two main types of limits, see CPU bottleneck vs GPU bottleneck. That short explanation helps you interpret monitoring results later in this guide.
Two practical rules will save most builders from trouble. First, buy the CPU and graphics card as a pair for your resolution, not as two separate best deals. Second, leave room for the games you will actually play in a year or two, not only the game you are playing today. That room can come from a slightly stronger CPU, more memory, or a power supply with headroom, depending on where your build is weakest.
Best PC Components to Avoid Bottlenecks
The supporting parts rarely get the attention they deserve, yet they decide whether a good CPU and graphics card can perform at their best.
Motherboard: the platform not just a socket
The motherboard connects everything and sets your upgrade path. Check that it supports your CPU without a BIOS update you cannot perform, that it has the memory slots and expansion slots you need, and that its power delivery is suitable for the CPU you plan to use. A board that barely handles a high power CPU can limit sustained performance, even if the system boots fine.
Also check the details that affect daily use: enough fan headers or a fan hub plan, front panel USB support that matches your case, enough M.2 slots for your storage plan, and a layout that leaves room for a large graphics card and cooler. For a deeper look at how this part can limit performance, read how a motherboard can bottleneck CPU and GPU performance.
RAM: capacity, channels and speed together
For most gaming builds in 2027, 16 GB is the practical minimum and 32 GB is a sensible choice if you multitask, stream, or play demanding titles while other programs run in the background. Just as important as capacity is configuration. Two sticks in dual channel mode generally perform better than a single stick of the same total capacity, because the system can access memory through two channels at once.
Check the motherboard manual for the correct slots, usually the second and fourth slots when using two sticks, and confirm the memory speed and timings are supported by both the CPU and the board. Enable the memory profile in BIOS after the build, as described later, because memory often runs at a conservative default speed until that setting is changed. For the signs of a memory limit and how to think about capacity, see RAM bottleneck explained.
Power supply: buy reliability and headroom
The power supply feeds every part, so this is the wrong place to chase the lowest price. Choose a reputable unit with enough wattage for your graphics card and CPU, plus headroom for brief power spikes and a future upgrade. Check the manufacturer’s recommended wattage for your graphics card, then compare it with the total system requirement rather than guessing from one part alone.
Modular or semi modular cables make building and cable management easier, but the priority is quality and correct connectors. Make sure the unit has the PCIe power connectors your graphics card needs and that you use separate cables where the graphics card maker recommends them, rather than daisy chaining every connector from a single cable when a stronger setup is advised. For ranked options and what the tiers mean, see the PSU tier list and best power supplies ranked.
Storage: fast where games live
Install your operating system and your most played games on a fast NVMe solid state drive. A slow or nearly full drive can cause long load times and, in some games, hitches when assets stream in during play. A larger secondary drive can hold a game library, recordings, or files you access less often, but your main games should not live on an old mechanical hard drive if smooth loading matters to you.
Leave free space on your main drive. A drive that is almost full can slow down and leaves no room for updates, temporary files, or new games. For how storage limits show up in practice, read what a storage bottleneck is.
Assembly in Plain Language
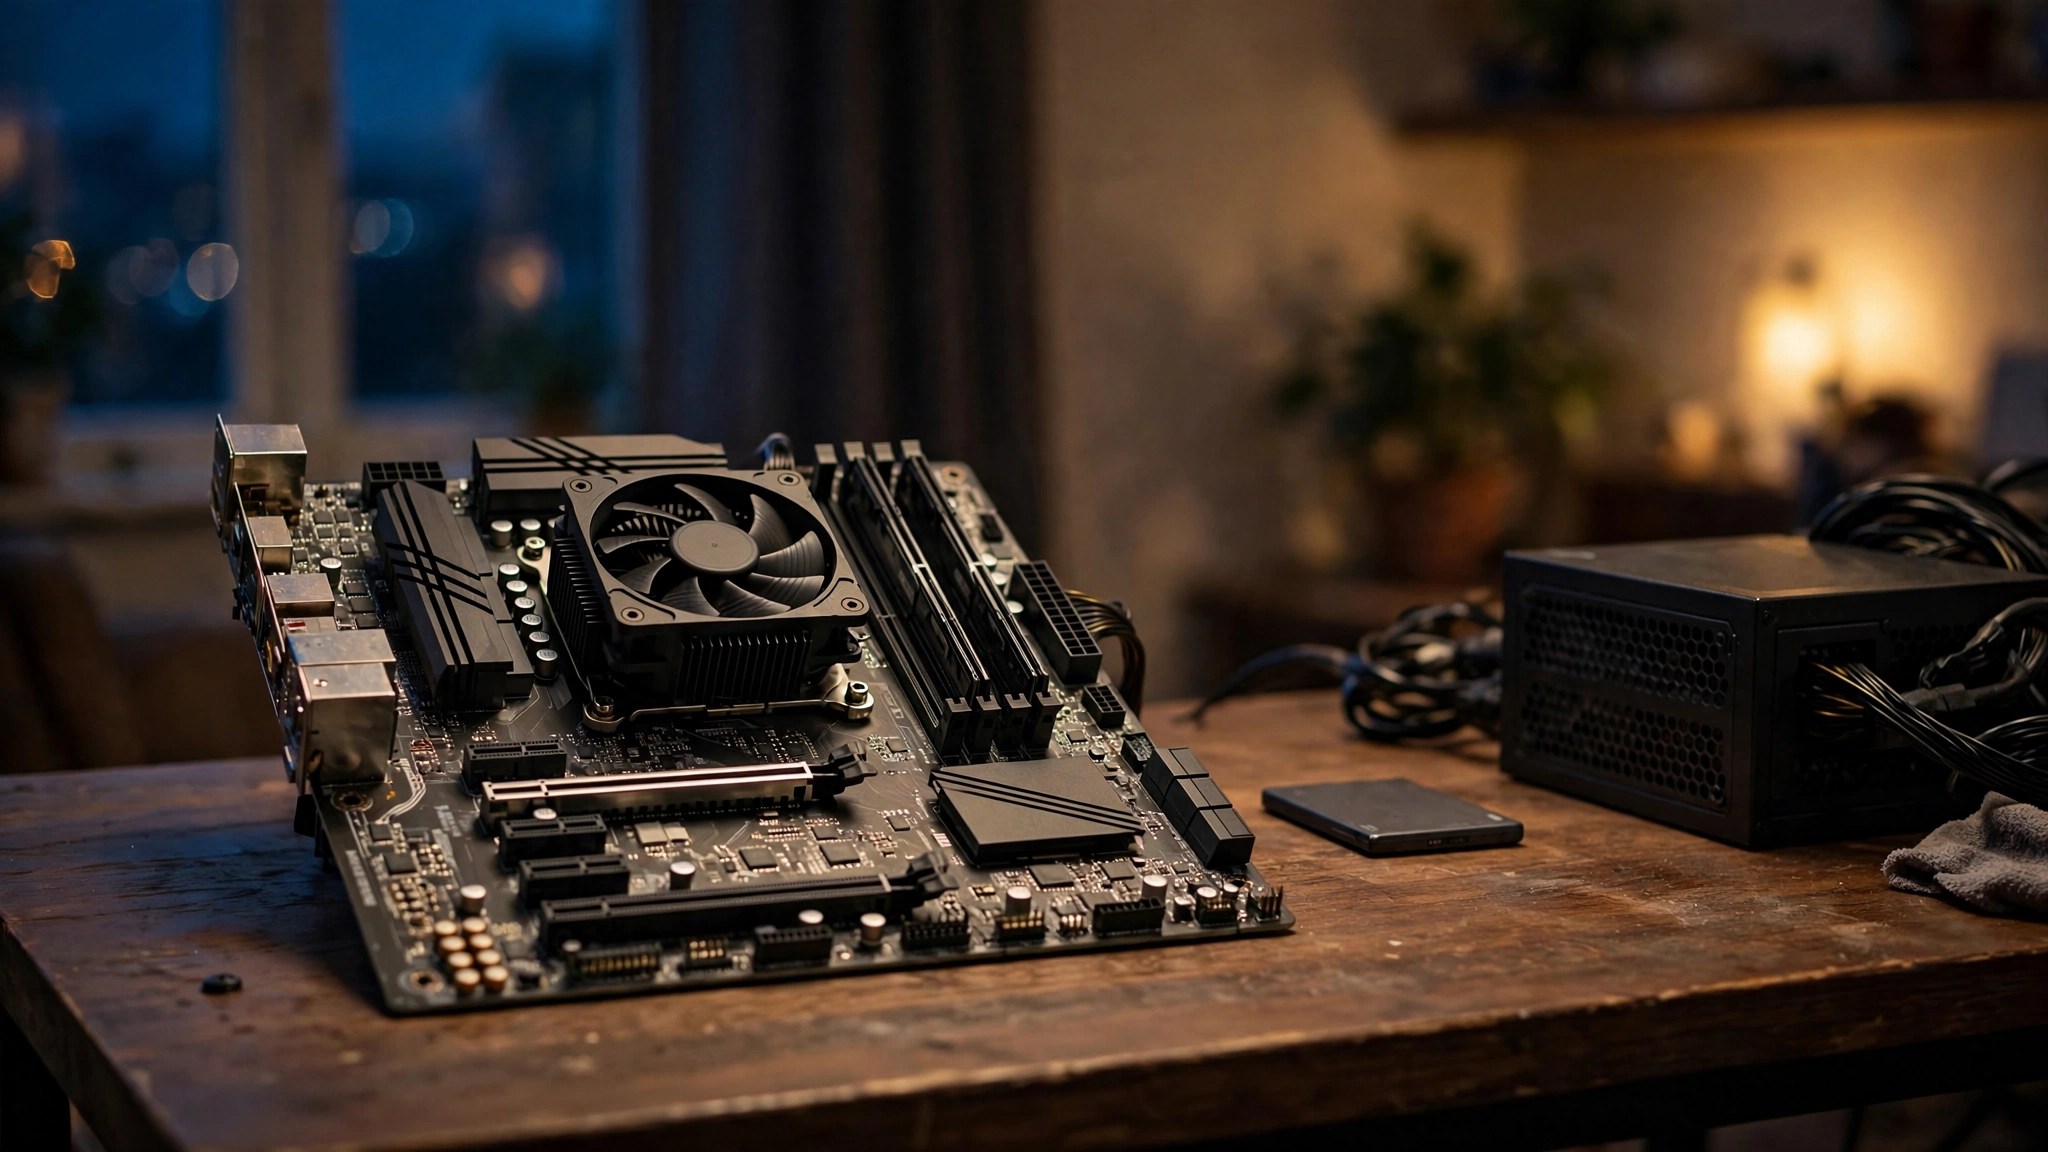
You do not need a workshop or special tools to build a PC. A clean table, a Phillips screwdriver, cable ties or Velcro straps, and patience are enough. Work on a non conductive surface, touch a metal part of the case from time to time to discharge static, and keep screws in a small tray so nothing rolls away. Read the manuals for your motherboard and case before you start, because slot layouts and front panel connectors differ between models.
Follow this order. It keeps the tightest steps early, while you still have room to work.
- Prepare the case. Remove the side panels, install case fans if they are not preinstalled, and plan where cables will run. Note the standoffs for the motherboard size you are using.
- Install the CPU. Lift the socket lever, align the marker on the CPU with the marker on the socket, lower it gently into place without force, then close the lever. Never push a CPU that does not sit flat.
- Install memory. Open the clips, align the notch on each stick with the notch in the slot, and press evenly until both clips close. Use the dual channel slots from the motherboard manual.
- Install the M.2 drive if you are using one. Insert it at a slight angle, press it down, and secure it with the screw or latch provided.
- Install the CPU cooler. Follow that cooler’s instructions exactly, including thermal paste. Many coolers come with paste preapplied. If yours does not, a small pea sized dot in the center is the usual starting point, unless the maker says otherwise.
- Install the motherboard in the case. Align it with the rear I/O shield and standoffs, then secure it with the screws provided. Do not overtighten.
- Install the power supply and route its main cables. Run cables behind the motherboard tray where possible so airflow stays clear.
- Install the graphics card. Remove the matching rear slot covers, open the PCIe slot clip, press the card firmly into the top full length slot, secure it to the case, and connect its power cables.
- Connect front panel cables, fans, and storage drives. Front panel power, reset, and indicator connectors are small and easy to mix up, so follow the motherboard manual diagram closely.
- Do a final check. Confirm every power cable is fully seated, no cable touches a fan blade, the memory and graphics card are fully inserted, and no screw or tool is left inside the case.
Close the case only after a successful first boot if you prefer, or close it and keep the screwdriver nearby. Either way, do not rush the final check. Most no boot problems come from a cable that looks connected but is not fully seated, a monitor plugged into the motherboard instead of the graphics card, or memory that needs to be reseated.
First Boot, BIOS and Driver Checks
Connect the monitor to the graphics card, not to the motherboard video output, unless you are intentionally using integrated graphics. Connect the keyboard, mouse, and power cable, then press the power button. The first boot may take longer than later boots while the system trains memory and detects hardware. If the screen stays blank, check the monitor input, reseat the graphics card and memory, and confirm the CPU power cable is connected. That cable is easy to miss because it sits near the top of the motherboard.
Once you reach BIOS, do these checks in order. First, confirm the CPU, memory capacity, storage drives, and graphics card are all detected. Second, enable the memory profile for your RAM speed, often called XMP on Intel platforms or EXPO on AMD platforms. Third, confirm the boot drive order so the system installs and starts from the drive you intend. Fourth, check that fan curves are sensible and that temperatures look reasonable at idle. Save and exit only after you have reviewed those four items.
Install the operating system on your fast drive, then install drivers in a sensible order: chipset drivers from the motherboard or CPU maker, graphics drivers from the graphics card maker, then audio, network, and other device drivers as needed. Use the official download pages for Intel, AMD, and NVIDIA rather than random driver download sites. After graphics drivers are installed, restart and confirm the display resolution and refresh rate match your monitor.
Update the BIOS only if you have a clear reason, such as support for your CPU, a fix you need, or a feature you plan to use. A BIOS update is useful, but it should be done carefully with stable power and by following the motherboard maker’s instructions exactly. Do not update BIOS and install a dozen programs at the same time. Change one thing, confirm the system is stable, then move on.
Test for Bottlenecks With Monitoring Tools
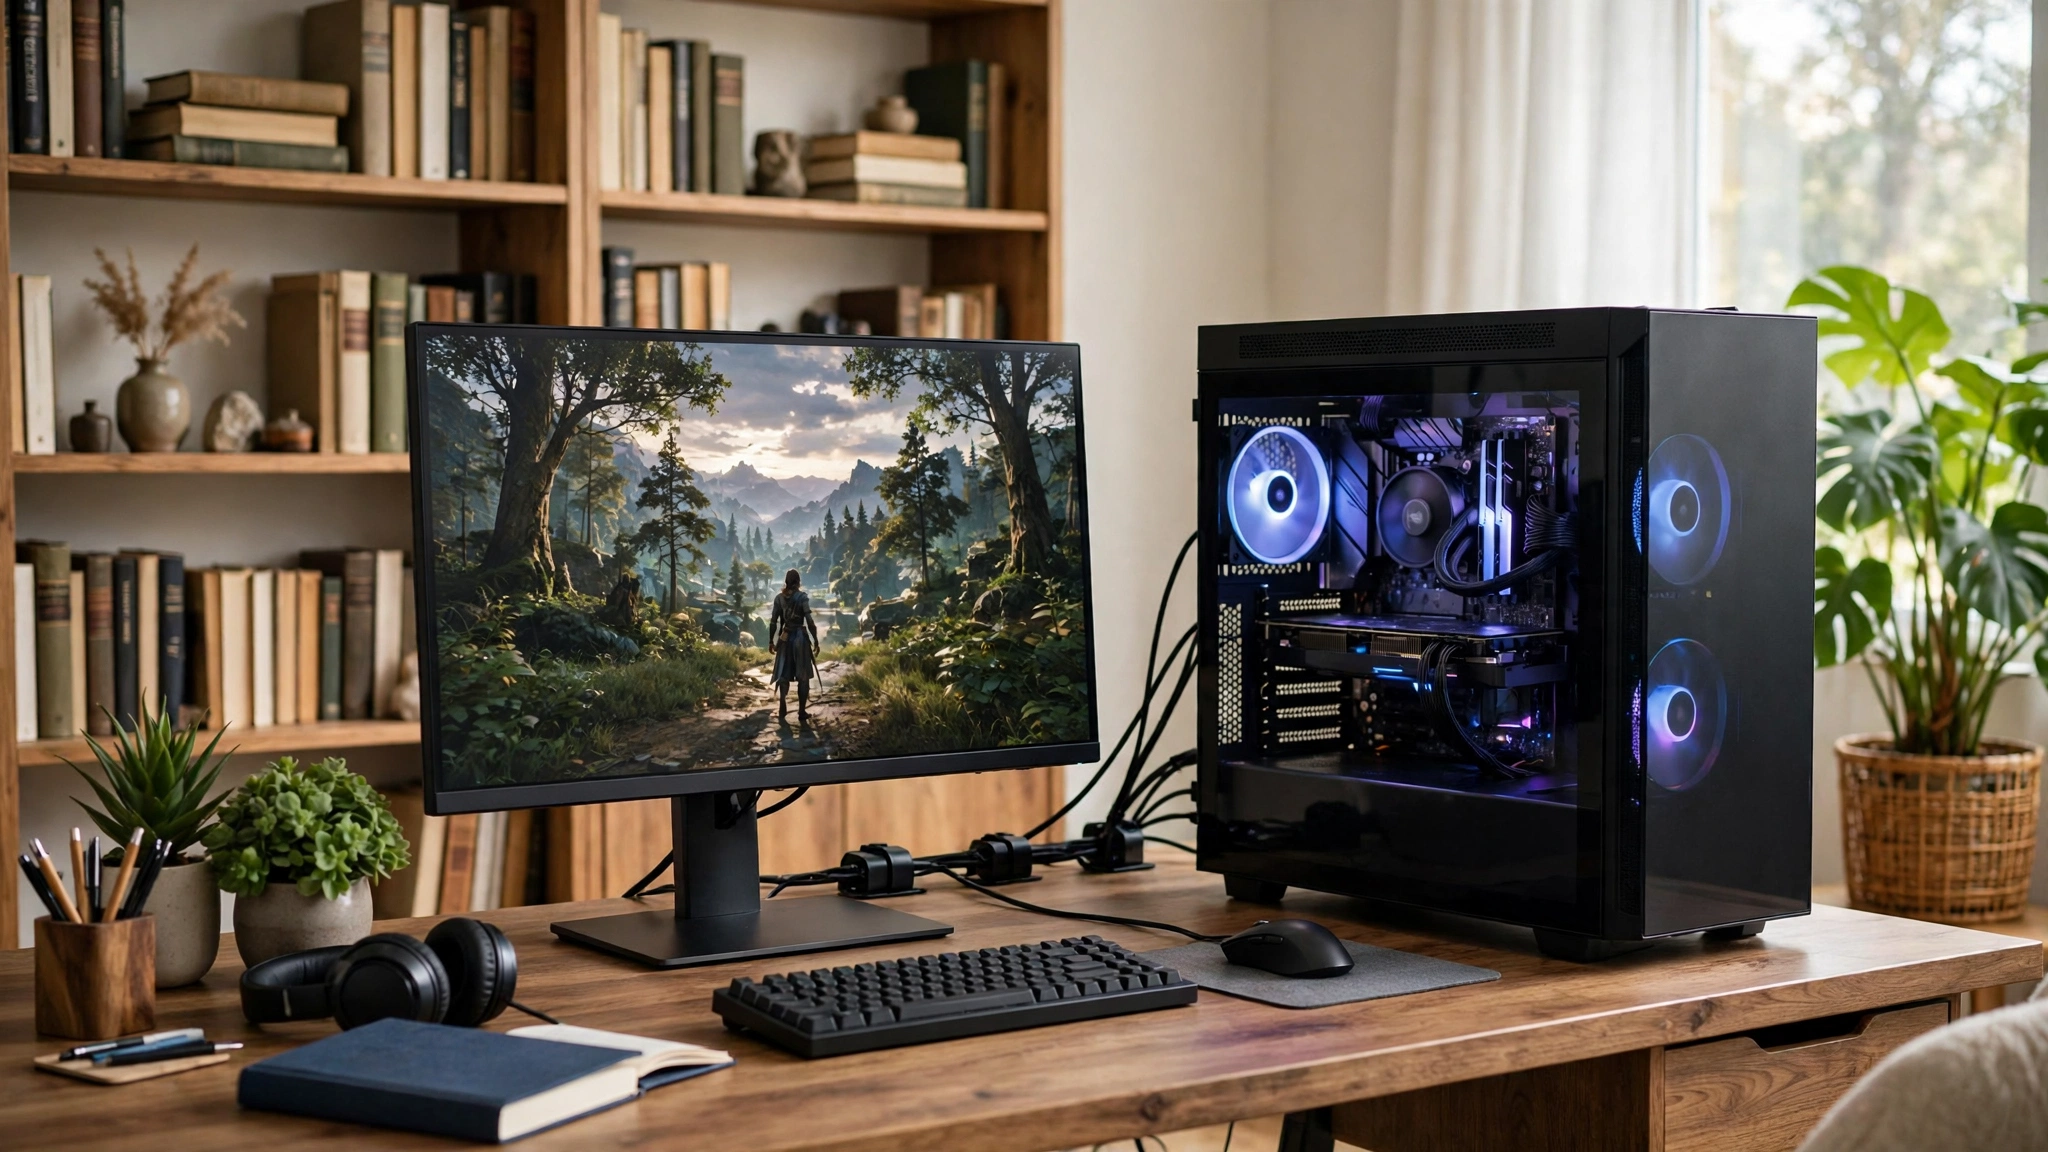
A new build should be tested, not just admired. Testing shows whether your planning worked and gives you a baseline for later upgrades. Start with the games you actually play, not only a synthetic test. Play for at least 15 to 20 minutes in a demanding scene, then look at the pattern, not a single second of data.
Use a monitoring overlay to watch CPU usage, GPU usage, memory usage, temperatures, and frame rate while you play. If the graphics card stays near full usage while the CPU has headroom, the system is generally GPU limited, which is the expected result when you push visual settings at higher resolutions. If the CPU stays near full usage while the graphics card sits well below full usage, and frame rates are uneven, you may have a CPU limit in that game or scene. If memory usage stays near full, or storage activity spikes during hitches, those parts deserve a closer look too.
For a step by step setup, see how to use MSI Afterburner. For free testing options beyond games, see the best free benchmark software. Run one benchmark at a time, close background programs that could skew results, and record your settings so later comparisons are fair.
Do not chase a perfect usage number. No system runs every part at full usage in every game, and different games stress different parts. Look for the pattern across several games. If one game is CPU heavy and another is GPU heavy, that is normal. A real problem shows up as the same limit, with stuttering or low performance, across the games you care about.
If a limit is confirmed, fix it in the right order. Check settings first, because an unnecessarily high CPU heavy setting or a background program can mimic a hardware limit. Check cooling and memory configuration next, because heat and single channel memory can hide behind a CPU or GPU reading. Only then consider a part change, and when you do, read how to fix a CPU bottleneck and the PC upgrade guide so the upgrade targets the real limit instead of the most expensive part.
Common Mistakes That Waste a Good Build
Most disappointing builds fail in the same few places. Avoiding these mistakes matters more than finding a slightly faster part.
The first mistake is buying parts in isolation. A strong graphics card, a weak CPU, a single stick of slow memory, and a cheap power supply do not add up to a strong PC. Buy for the system, not for the spec sheet highlight.
The second mistake is ignoring cooling and airflow. A case with blocked intakes, fans fighting each other, or a cooler that cannot handle sustained load will lose performance during long sessions. Keep intake and exhaust paths clear, route cables away from fans, and check temperatures under load, not only at idle.
The third mistake is skipping BIOS and driver basics. Memory left at default speed, a monitor plugged into the wrong output, outdated graphics drivers, or a game installed on a slow drive can all make a good build feel average. These are free fixes, so check them before you blame hardware.
The fourth mistake is trusting a single number. One benchmark, one calculator score, or one usage reading does not define a build. Test several games, watch the pattern, and compare results with the same settings before you decide something is wrong.
The fifth mistake is upgrading the wrong part. If the CPU is the limit, a faster graphics card will not fix it. If memory is full, a new graphics card will not fix it either. Test first, identify the limit, then spend money on that limit.
Reality Check What Most Gamers Actually Run
It is easy to assume every gamer already owns a high end system. The October 2026 Steam Hardware Survey is a useful reality check against that assumption, with one important caveat: the survey is voluntary, so it describes participating Steam users, not the entire PC gaming market. Still, the pattern is instructive for a builder.
In that survey, 16 GB of system memory was the most common configuration, and 8 GB of graphics memory was the most common VRAM capacity, with the GeForce RTX 3060 among the most common graphics cards. That picture describes a large middle of the market: midrange hardware, 1080p focused play for many users, and systems that still benefit from balanced choices rather than extreme parts. It does not mean you should copy the most common build. It means a thoughtful midrange build is not a compromise to be embarrassed about. It is where most gamers actually live.
Use that reality check when you set expectations. If your target is 1080p or 1440p with smooth, consistent play, a balanced midrange build with dual channel memory, fast storage, and a reliable power supply is a strong result. If your target is 4K at high settings, you will need to step up the graphics card and budget accordingly, but the same balance rules still apply. Do not buy extreme parts to impress a spec sheet when your monitor and games cannot use them, and do not underspend on memory, storage, cooling, or power just to afford a bigger graphics card badge.
Frequently Asked Questions
The questions below are general buyer questions that first time builders commonly ask. They are written in plain language for this guide and are not presented as quotations from any forum or social platform.
Do I need a high end CPU to avoid a bottleneck?
No, you need a CPU that matches your graphics card and resolution. At 1080p, CPU strength matters more, so a capable modern midrange CPU is often the right partner for a midrange graphics card. At 4K, the graphics card carries more of the load, but a very weak or very old CPU can still cause uneven performance. Match the tier, then check real game results for the pairing you are considering.
Is 16 GB of RAM still enough for gaming in 2027?
For many gamers, 16 GB in dual channel mode remains a workable baseline, especially at 1080p. If you stream, run many background programs, edit video, or play demanding titles while multitasking, 32 GB gives useful headroom and reduces the chance that memory becomes your limit. The right answer depends on your workload, not on a single rule.
Should I spend more on the CPU or the GPU?
For most gaming builds, the graphics card deserves the larger share of the core budget, because it does most of the rendering work at 1440p and 4K. That does not mean the CPU can be an afterthought. If you play at 1080p with a high refresh rate monitor, or you play CPU heavy games, the CPU deserves more weight in your plan. Start from your resolution and games, then split the budget to match them.
Can I build a gaming PC if I have never built one before?
Yes, if you work slowly and follow the manuals. The physical steps are straightforward, and the most common problems are loose cables, a monitor connected to the wrong output, or memory that needs reseating. Build on a clear surface, check each step before moving on, and test the system before you treat the build as finished.
How do I know if my new PC has a bottleneck?
Play the games you care about with a monitoring overlay running and look for a repeated pattern. A CPU near full usage while the graphics card waits is a sign of a CPU limit in that scene. A graphics card near full usage with CPU headroom is usually the expected GPU limited result at higher settings. Test several games, check temperatures and memory usage too, and do not judge the whole build from one moment or one game.
Is it better to buy a prebuilt PC instead of building one?
A prebuilt PC saves time and includes support, while a custom build gives you control over every part, the power supply, cooling, and upgrade path. If you build, you also learn the layout of your own system, which makes later upgrades and troubleshooting easier. Choose the route that fits your time, confidence, and budget, but apply the same balance checks either way.
November 12 Update: Building in the November 2026 Parts Market
This guide was published on November 3, 2026. The market moved fast since then: memory prices kept climbing, graphics cards drifted further from their launch prices, and a Windows update changed a setting that can cost a few frames. Every price below is a November 12, 2026 snapshot, so recheck the price before you buy.
Memory is now the part that changes your budget
Memory is the biggest change since November 3. A 32GB DDR5-6000 kit that sold for roughly $72 to $86 in 2024 cost around $375 by June 2026, about $459 in late October, and $569.97 by November 2. The RamRadar RAM Price Index put desktop DDR5 at $19.79 per gigabyte on November 12, up 14.8 percent in 30 days. TrendForce forecasts DRAM contract prices rising 10 to 15 percent in the fourth quarter, as memory makers send more wafer capacity to AI accelerators, leaving less DDR5 for gaming PCs.
That changes the 16GB versus 32GB answer in this guide. For a pure gaming build, 16GB is now the sensible default again, to keep money free for the graphics card. At $19.79 per gigabyte, a 16GB kit works out near $315 and a 32GB kit near $630. Buy 32GB if you stream, edit video, or run many programs beside your games; our guide to how much RAM games really need helps you judge that. Do not buy 32GB on autopilot, and buy memory early, because waiting has cost buyers money all year.
Graphics cards are selling far above their launch prices
Graphics cards tell the same story. Launch prices have become reference numbers, not prices you can pay. The table uses the lowest US listings in the Tom’s Hardware GPU price tracker, updated November 3, 2026, as covered in this roundup of the November 2 listings, except for the RX 9070 XT row, which uses a November 11 Newegg snapshot.
| Graphics card | Launch price | Lowest US listing | Above launch price |
|---|---|---|---|
| RTX 5090 32GB | $1,999 | $6,919 (Nov 3) | About 246% |
| RTX 5080 16GB | $999 | $1,999 (Nov 3) | About 100% |
| RTX 5070 Ti 16GB | $749 | $1,399 (Nov 3) | About 87% |
| RTX 5070 12GB | $549 | $899 (Nov 3) | About 64% |
| RTX 5060 Ti 16GB | $429 | $769 (Nov 3) | About 79% |
| RX 9070 XT 16GB | $599 | $949.99 (Nov 11) | About 59% |
NVIDIA has not announced a new official MSRP, and the Founders Edition RTX 5090 still lists at $1,999, but it was out of stock, so that price was not one a buyer could pay. If these prices break your budget, the used market is worth a look, but check a used card carefully before you pay. When you compare 12GB and 16GB cards, remember what happens when VRAM runs full.
Three builds at November 12 prices
For 1080p, pair a Ryzen 5 7600X, about $166 in a November 11 snapshot, with an RTX 5060 Ti 16GB at about $769 and 16GB of DDR5. For 1440p, a Ryzen 7 9800X3D, down to $399.99 at Newegg with a coupon on November 8, paired with an RX 9070 XT at about $949.99 or an RTX 5070 at about $899, is the sweet spot. For 4K, step up to an RTX 5080 at about $1,999. The RTX 5090 at about $6,919 is not a sensible gaming buy for most builders this month. CPU prices have climbed too, so lock in a CPU deal when you see one.
Buy now or wait for Black Friday
Black Friday 2026 falls on Friday, November 27, with Cyber Monday on Monday, November 30. Buy RAM and SSDs now at a fair price, because TrendForce expects both to keep rising through the fourth quarter, and a discount on a part whose price rose 15 percent in a month is often no discount at all. Wait for Black Friday on CPUs, monitors, cases, power supplies, cooling, and peripherals. For graphics cards, buy only if the price is close to a recent low, and note today’s price first, so you can tell a real cut from a crossed out banner price. Prebuilt PCs deserve a close look too, because a finished system prices its RAM, storage, and graphics card together: a CyberPowerPC rig with an RTX 5070 was listed at $1,799.99 at Best Buy on November 9. Our prebuilt vs custom comparison walks through that tradeoff.
Check one Windows setting after the November update
Microsoft’s November 10 Windows 11 update, KB5132061, enables Memory Integrity, also called HVCI, on more Windows 11 25H2 or 26H2 PCs. The feature blocks malicious drivers from reaching the core of Windows, but it can cost frames: Tom’s Hardware measured an average gaming drop of about 5 percent, and up to about 10 percent in some titles, in older tests, while a newer retest found a smaller effect. If your games feel slower after the update, open Windows Security, then Device security, then Core isolation, and check whether Memory Integrity is on. Windows will not switch it back on if you turned it off yourself, so leave it on unless you measured a real loss in your own games. More detail is in this Windows Latest report.
The build advice in this guide has not changed. The prices behind it have. Price your list before you buy, buy memory early, and let Black Friday earn your money.
Conclusion
Building a gaming PC without bottlenecks comes down to a simple discipline: choose a target first, match the CPU and graphics card to that target, support them with the right motherboard, memory, power supply, and storage, assemble carefully, and test what you built. No single part saves an unbalanced system, and no single score proves a system is balanced. The pattern across your games, temperatures, and usage readings tells the real story.
Take your time with compatibility checks and first boot settings, because those free steps prevent many of the problems new builders blame on hardware. Link your deeper research to focused guides when you need them, keep your drivers current, and upgrade the actual limit when the time comes. A balanced build built this way will not just run well on day one. It will stay easy to understand, easy to test, and easy to upgrade for years.

Leave a Reply