

Learning how to check GPU health before you buy used comes down to seven tests: confirm the card is genuine with GPU-Z, inspect it physically, listen to the fans, watch temperatures and hotspot readings under load, run a FurMark or 3DMark stress test, run the OCCT VRAM test, and check power draw plus every display output. Any artifact, VRAM error, crash, or temperature far above normal for that model at stock settings means you walk away.
Why a Used GPU Needs Testing, Not Trust
A used graphics card can look clean in listing photos and still be dying inside. The seller may not even know. Memory chips fail slowly. A fan bearing wears out over years. Dried thermal paste turns a strong card into a throttling card. None of that shows in a photo of a shiny shroud.
This matters more right now because GPU prices are still far above MSRP in November 2026, according to market reports, so more buyers are turning to the used market to save money. At the same time, strong CPUs are getting cheaper, with the Ryzen 7 9800X3D reported at a record-low $399.99 by Tom’s Hardware, which means more builders are pairing a new CPU with a used GPU. A used card can be a great deal, but only if you test it before money changes hands.
The good news is that you do not need expensive gear or deep technical skill. The tests in this guide use free tools, take about an hour, and catch most dying cards. Bring them on a USB drive to the seller, or ask the seller to run them while you watch on a video call. If a seller refuses every test, that refusal is itself an answer.
This guide covers diagnostics only. For prices, where to buy, and how to negotiate, read our used GPU buying guide.
What You Need Before You Meet the Seller
Preparation takes ten minutes and saves you from a bad purchase. Put these free tools on a USB drive before you leave home: GPU-Z, HWiNFO64, FurMark, OCCT, and the free 3DMark demo from Steam if the seller has it installed. A small flashlight helps for the physical inspection, and a phone camera lets you record serial numbers and any damage you find.
Ask the seller three things before the meeting. First, ask for the exact model, including the board partner name and the VRAM size. Second, ask whether the card was ever opened, repasted, repaired, or used for mining. Third, ask whether you can test it in a working PC. A seller who answers clearly and agrees to testing is a good sign. A seller who dodges these questions is a warning sign before you even arrive.
When you arrive, reset everything to stock settings before testing. That means no overclock, no undervolt, and no custom fan curve. Changed settings can hide faults or create new ones, so a test run on a tuned card tells you nothing reliable. Write down the starting point too: the driver version, the room temperature, and the case airflow situation. A card tested in a closed case on a hot day will run warmer than the same card on an open bench, and you need that context when you read the numbers.
Takeaway: show up with free tools on a USB drive, stock settings, and a clear plan, and most of the testing takes care of itself.
Confirm the Card Is Genuine and Check the BIOS
The first test takes two minutes and it catches fakes. Some marketplace cards are old GPUs reflashed to report as newer models. The sticker says one thing, the silicon says another, and the card only reveals itself when you check what the system actually detects.
Open GPU-Z, a free utility from TechPowerUp, and read the Name field. It must match the exact model the seller listed, including the VRAM size and memory type. If GPU-Z shows a [FAKE] flag or a yellow warning, stop right there. That flag appears when the chip inside does not match the chip the card claims to be, and it covers a long list of older NVIDIA chips that are commonly used as donor silicon.
Next, compare the details GPU-Z reports against the manufacturer’s official specification page for that exact model: the GPU die name, the memory type, the memory size, and the bus width. For AMD cards, cross-check against the specs on AMD. Any mismatch is a fail. A card sold as 12 GB that reports 8 GB is not a bargain, it is a different card.
Then check the BIOS version GPU-Z reports and look at whether the card has a BIOS switch. Some cards have a dual BIOS switch for silent and performance modes, so note which position it is in and test in the position the seller normally uses. If the BIOS version looks odd, or the seller cannot explain a custom BIOS, treat that as a warning. A mining BIOS or a BIOS flashed from a different model can change clock speeds, fan behavior, and power limits in ways that hide problems.
Finally, open Windows Device Manager and confirm the card appears with no yellow warning icon. A warning icon points to a driver problem or a hardware problem, and either way you need to know before you pay.
Takeaway: if GPU-Z and the official specs disagree, the deal is over. No stress test can fix a card that is not what the listing claims.
Inspect the Card With Your Eyes and Hands
A clean card can still be sick, and a dusty card can still be healthy, so the physical inspection is about damage, not cosmetics. Hold the card under good light and look closely at each part.
Start with the fans and shroud. Look for cracked or chipped fan blades, a bent heatsink fin stack, and a sagging circuit board near the PCIe connector. Cosmetic scratches on the backplate do not matter. A bent board or a cracked fan blade does, because both point to a drop or rough handling.
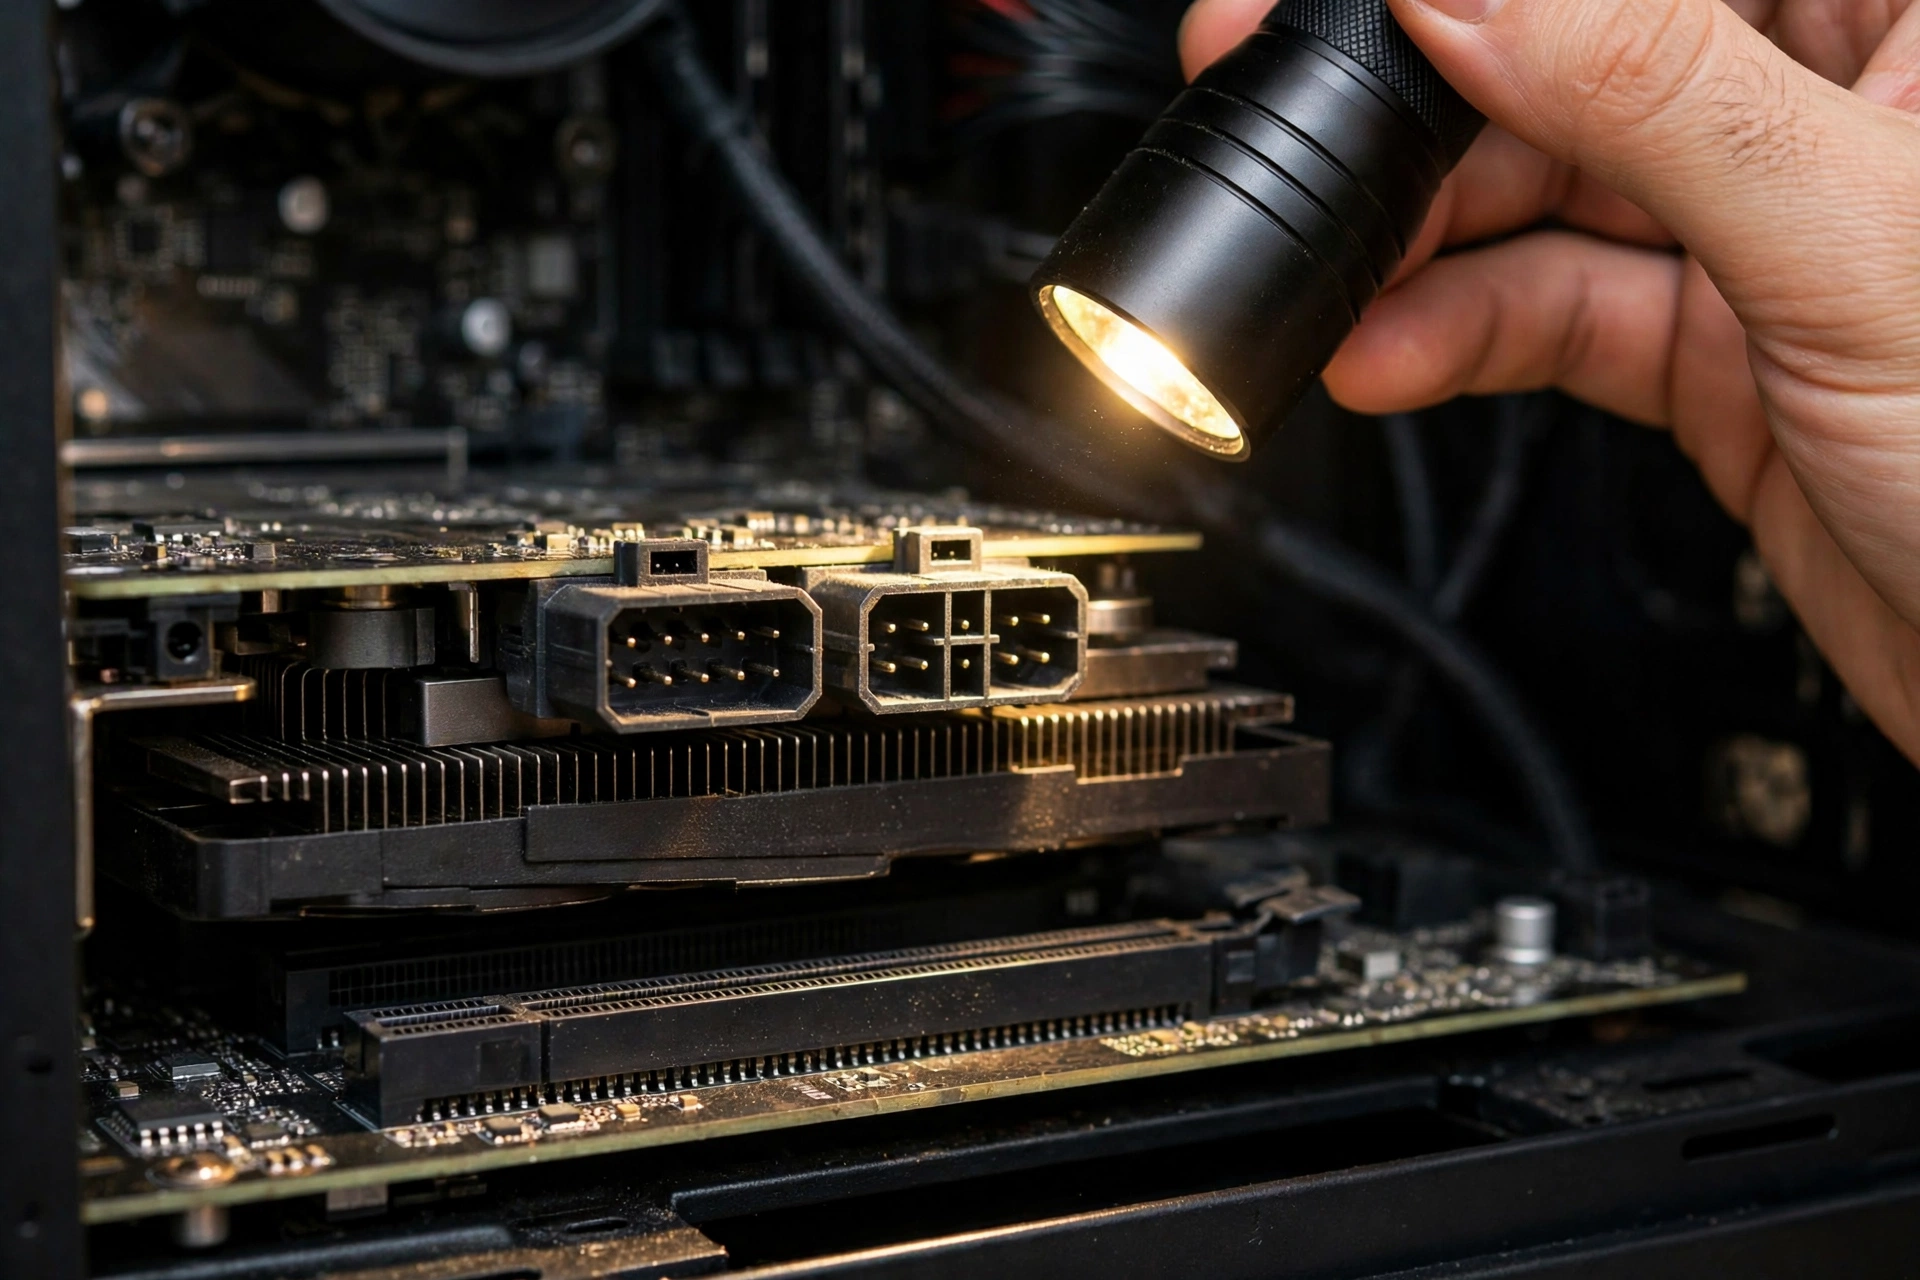
Then look at the power connectors. This is where the flashlight earns its place. Check for browned, melted, or discolored pins, especially on 12VHPWR or 16-pin connectors. Burnt or melted pins are a walk-away defect, full stop. Also look for scorch marks or discoloration on the circuit board around the power delivery area, and for capacitors that bulge or leak. A bulging capacitor is a component that is already failing.
Check the screws on the cooler shroud and backplate. Chewed or stripped screw heads mean the card has been opened. Opening is fine if the seller told you about it, and it is a red flag if they said the card was never touched. A repaste job done well is no problem at all, but a repaste done badly can leave the cooler sitting unevenly on the chip, which shows up later as a huge hotspot gap in Test 4.
Smell the card. That sounds strange, but a burnt electronics smell is real evidence. If the card smells burnt, do not buy it, no matter how well it benchmarks in the next tests. Some damage only shows up after the card heats up and cools down a few more times.
Finally, check the PCIe connector fingers for wear and scratches from repeated removal, and check that the bracket is straight. Heavy wear on the connector can mean the card lived in a mining rack or a test bench where it was swapped in and out many times.
Takeaway: dust is cosmetic and damage is not. Burnt pins, bulging capacitors, a bent board, or a burnt smell each end the deal on their own.
Listen to the Fans and Watch Them Spin
Fans are the most common moving part to fail on a graphics card, and they are also the easiest to test. The trick is to test them under load, not at idle. Many modern cards turn their fans off completely at idle, so a silent card at the desktop tells you nothing.
Boot into Windows and watch the fans as the card warms up. All fans should start spinning smoothly as temperature rises, and they should spin at roughly the same speed. One fan that stays still while the others spin is a failed fan. A fan that stutters, stops and starts, or spins much slower than its partner is a fan on its way out.
Now listen closely. Put your ear near the case while a benchmark runs. A healthy fan makes a smooth whoosh of air. A worn bearing makes a grinding, ticking, clicking, or rhythmic rattling sound. A low-pitched whirring or knocking noise that repeats with each rotation is the classic sound of a dying bearing. Coil whine is different: it is a high-pitched buzz or squeal that changes with frame rate, and it is annoying but usually not a sign of failure. Learn to tell the two apart, because a seller may try to pass off bearing noise as coil whine.
Also check how the fans behave when the test stops. They should spin down smoothly. A fan that wobbles, scrapes the shroud, or stops suddenly may have a bent blade or a damaged hub.
Replacement fans are sometimes available from the board partner, but a failing fan on a card you have not bought yet is a repair bill you do not need. If the seller says the noise is normal, ask them to show you the same model running quietly somewhere else. They usually cannot.
Takeaway: test fans under load, listen for grinding or rattling, and remember that silence at idle proves nothing.
Check Temperatures and the Hotspot Reading
Temperature is the number most buyers watch, and the number most buyers read wrong. There is no single temperature that proves every GPU is healthy, because models have different limits and cooling designs. What matters is the temperature of this exact model, at stock settings, in a case with normal airflow, plus the gap between the core temperature and the hotspot temperature.
Open HWiNFO64 before you start any load test and keep the sensor window visible. Note the idle temperature first. Most modern cards idle between 30 and 50 degrees Celsius. An idle temperature above 60 degrees in a normal room suggests the cooler is not making proper contact, the fans are not working, or the thermal paste is dried out.
Then watch the load temperature. As a rough guide, most modern GPUs should stay under 85 degrees Celsius under a sustained gaming load. Sustained readings above 90 degrees point to a cooling problem. But the exact limit depends on the model, so check the manufacturer’s stated thermal limit for the card you are testing rather than trusting one universal number. What you are really watching for is a temperature that climbs fast, keeps climbing without leveling off, or jumps straight to the limit within seconds of starting a test.
The hotspot reading is the more revealing number. HWiNFO64 shows a GPU hotspot temperature on most modern cards, which is the hottest point on the die. On a healthy card with a good cooler mount, the hotspot usually sits 10 to 20 degrees above the core temperature. A gap above 25 degrees suggests dried thermal paste, a bad cooler mount, or a damaged thermal pad. A gap that grows over the course of the test suggests the cooler is losing contact as it heats up.
Memory temperature matters too, especially on cards with GDDR6X memory, which runs hot by design. HWiNFO64 shows memory junction temperature on supported cards. If it sits near its limit while the core looks fine, the memory cooling is the weak point, and that is exactly the kind of fault that causes crashes weeks later.
If you want the full picture on why heat makes cards slow down, read our guide to GPU thermal throttling. A card that throttles hard under a normal load is a card whose cooling system is already losing the fight.
Takeaway: watch the core temperature, the hotspot gap, and the memory temperature together. A hotspot gap above 25 degrees is a warning even when the core temperature looks normal.
Run a Real Stress Test With FurMark and 3DMark
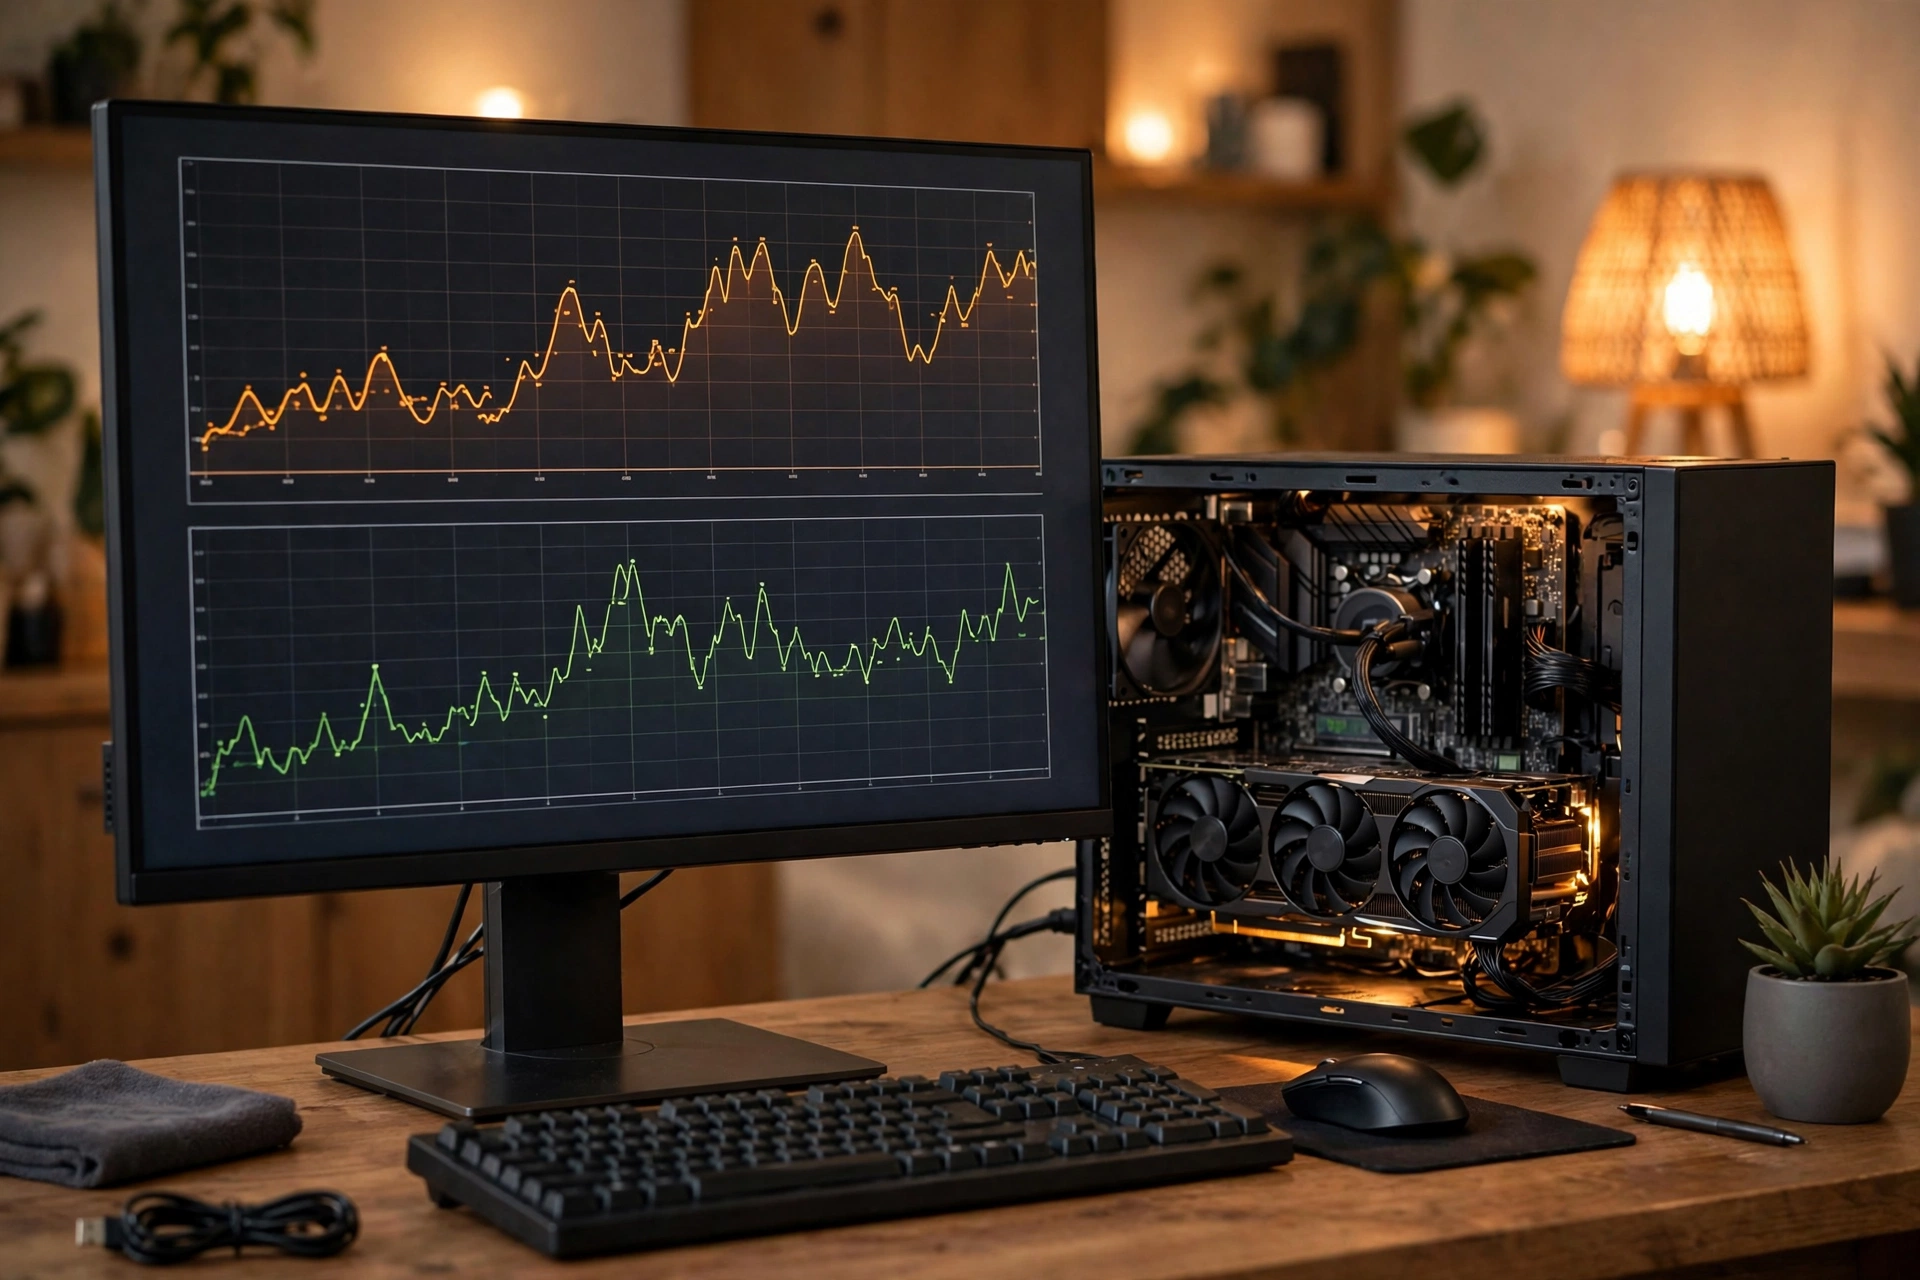
A card can pass every idle check and still crash the moment a game loads it. That is why the stress test is the heart of this guide. It applies a steady, heavy workload and exposes faults that never appear on the desktop.
Start with FurMark. It is a free tool that pushes the GPU core to its maximum power draw, which makes it excellent for finding thermal and power problems fast. Run it at your monitor’s native resolution for 15 minutes, with HWiNFO64 logging in the background. Watch the screen the whole time. You are watching for artifacts, flickering, driver resets, crashes, and any temperature that races past the model’s normal range.
A warning about FurMark is important. NVIDIA has warned that FurMark can push power draw well beyond real-world applications, and that disabling GPU protections to force a stress test can permanently damage a card and void the warranty. So never disable protections, never run FurMark on a card with a cooler you already know is broken, and stop the test immediately if temperatures spike or the card shows artifacts. Fifteen minutes at stock settings with protections on is a test. An hour with protections off is abuse.
Then run 3DMark Time Spy, using the free demo on Steam if it is available. Unlike FurMark, 3DMark behaves like a real game, so its score can be compared against published results for the same model. A card that scores 10 to 15 percent below typical results for its model is throttling, power limited, or degraded. You can find reference scores with a quick search for the exact model and the exact test. Our roundup of the best free benchmark software covers the tools worth using and the ones that waste your time.
Run a demanding game loop too if you have time. A benchmark is repeatable, but a game shows how the card behaves with changing loads, shader compilation, and driver features turned on. Watch for stuttering, sudden frame drops, and texture problems. If your frame rate looks wrong for the card, check our guide on why your FPS is so low before you blame the card, because a weak CPU or slow RAM can cap frame rates too. For the full picture on how the CPU and GPU share the work, see our explanation of what a GPU bottleneck is.
Takeaway: fifteen minutes of FurMark plus a 3DMark run tells you more about a used card than a week of desktop use. Any crash, artifact, or driver reset during these tests is a fail.
Test the VRAM With OCCT
This is the test most buyers skip, and it is the one that catches the defects that surface weeks after the purchase. Video memory fails before the core does, and light tests barely touch it. A card can run FurMark cleanly and still have a failing memory chip that only shows up when a game fills the VRAM.
OCCT is a free tool with a dedicated VRAM test that writes test patterns into the video memory and checks every byte it reads back. Run it at stock settings, using about 80 percent of the available VRAM, for at least 20 to 30 minutes. Enable error detection and sensor logging before you start.
Reading the result is simple. Zero errors means the memory passed. Any error at all means walk away. There is no acceptable number of VRAM errors on a card you are about to buy. A single error is evidence of a memory chip that is already failing, and memory faults get worse with heat and time, not better.
While the VRAM test runs, watch the screen for colored dots, lines, checkerboard patterns, or flashing textures. Those visual artifacts are the visible form of the same memory fault, and they count as a fail even if the error counter stays at zero.
Run the VRAM test before the long 3D stress test, not after. If the memory is bad, you find out in twenty minutes instead of wasting an hour on other tests first. If the seller says a VRAM test is unnecessary because the card already passed a game test, that is exactly the seller to be careful with, because a game rarely fills VRAM the way OCCT does.
Takeaway: any VRAM error in OCCT is a walk-away result. No exceptions, no second chances, no discount that makes it worth it.
Check Power Draw, Ports, and Every Output
A card that looks healthy can still have a weak power stage or a dead output, and both are easy to miss if you only test one monitor on one port.
Watch power draw during the stress test in HWiNFO64. The card should draw close to its rated board power under full load, and the draw should stay steady rather than jumping wildly up and down. A card that draws far less power than its rated limit while also scoring far below normal is power limited, which can mean a failing power stage, a damaged connector, or a BIOS that caps the card. Also watch the 12 volt rail reading if HWiNFO64 shows it. Large voltage drops under load point to a power supply problem rather than a GPU problem, so test the card in a known-good system with a quality power supply before you blame the card. Our PSU tier list can help you judge whether the test system power supply is good enough to trust the result.
Check the PCIe link speed in GPU-Z while the card is under load. It should run at the full width and generation the card and slot support, for example x16 at PCIe 4.0. A card stuck at x1 or at an old generation under load has a slot problem, a BIOS setting problem, or a damaged connector.
Then test every display output. Plug a monitor into each DisplayPort and HDMI port in turn and confirm a clean image on all of them. A dead output is a common fault on cards that have been repaired or ridden hard, and it is the easiest thing for a seller to avoid demonstrating, because most buyers only test one port. Test the ports you actually plan to use, plus one more if you can.
Finally, check Windows Event Viewer after the tests. Repeated Event ID 4101 entries mean the display driver timed out and recovered, which is an early warning sign even when no crash was visible on screen. A card that logs several 4101 events during a short test is a card that is already unstable.
Takeaway: test power draw, the PCIe link, every output, and the Windows event log. A dead port or repeated driver timeouts are fails, even when the benchmarks look fine.
Your Pass or Fail Scorecard
Use this scorecard at the meeting. Score each test as pass, warning, or fail, and add up the result before you decide.
| Test | Pass | Warning | Fail, walk away |
|---|---|---|---|
| Identity and BIOS | GPU-Z matches the listing and official specs exactly | Card was opened or repasted, seller disclosed it | Fake flag, wrong VRAM size, or mystery BIOS |
| Physical inspection | Clean, straight board, clean pins | Dust buildup, light cosmetic scratches | Burnt pins, bulging capacitors, bent board, burnt smell |
| Fans | All fans spin smoothly, quiet under load | Light bearing noise at full speed only | Grinding, rattling, or a fan that does not spin |
| Temperatures | Under 85C load, hotspot gap under 20C | 85 to 90C load, hotspot gap 20 to 25C | Over 90C sustained, hotspot gap above 25C |
| Stress test | FurMark 15 minutes and 3DMark clean | Score 5 to 10 percent below typical | Crash, artifact, driver reset, or score 15 percent low |
| VRAM test | Zero errors in 20 to 30 minutes of OCCT | None, there is no warning level here | Any error, or visible artifacts during the test |
| Power and ports | Steady power draw, all outputs work | Minor voltage droop on a weak test PSU | Dead output, repeated Event 4101, wild power swings |
One fail means you walk away. Two warnings mean you negotiate hard or walk away, because warnings stack. A card with a warm running temperature and a noisy fan and a slightly low benchmark score is not three small problems, it is one card with a cooling system that is already failing.
Takeaway: decide with the scorecard, not with your excitement. The card will still be there tomorrow if it is genuinely good, and a bad card will still be bad tomorrow.
Red Flags That Mean Walk Away
Some signs are so strong that no test result can cancel them out. Walk away immediately if you see any of these: artifacts visible on screen at stock settings, even once; any VRAM error in OCCT; a crash or black screen during a short stress test; burnt or melted power pins; a burnt smell; a GPU-Z fake flag; a VRAM size that does not match the listing; or a seller who refuses to let you test the card at all.
Other red flags should make you very cautious: a seller with many identical cards for sale, which can point to ex-mining stock; a price far below every other listing for the same model; a story that keeps changing about how the card was used; no original box, receipt, or proof of purchase combined with a claim that warranty remains; and pressure to pay quickly before testing. None of these proves the card is bad, but together they describe the deals where buyers lose money most often.
Remember that a mining history by itself is not a diagnosis. A card that ran cool and undervolted in a mining rig can be healthier than a card that ran hot and overclocked in a gaming PC. What matters is what the tests show today, not the story about yesterday. But a seller who hides mining history is a seller who may be hiding other things too.
Takeaway: one hard red flag ends the deal. A cheap price never makes a dying card a good buy.
What a Passing Test Cannot Prove
Honesty matters here. Passing all seven tests is strong evidence, but it is not a guarantee. A card can pass every test on the day you buy it and fail weeks later, because some faults only appear after repeated heating and cooling cycles. No home test can promise years of life from a used card.
That is why the return window and any remaining warranty matter as much as the tests. Buy from sellers who offer a return period, and test the card again at home in your own system during that window, with your own games and your own power supply. Keep the receipt and the seller’s messages. If the card fails in the first week, you want proof of what was agreed, not a memory of a handshake.
Also keep in mind that a used card has no usage-hours counter you can read. There is no reliable way to check how many hours a consumer GPU has run, and no universal BIOS checksum list buyers can check. Anyone who claims they can prove a card’s full history from the card itself is overselling what the tools can do.
Takeaway: the tests catch most dying cards, not all of them. A return window is your safety net for the faults no test can see yet.
Common Mistakes Buyers Make
The most common mistake is testing only at idle. A card that looks fine on the desktop can crash ten minutes into a game. Always test under load, always test the VRAM, and always test for at least twenty minutes per test.
The second mistake is trusting a screenshot. A benchmark screenshot proves the card ran well once, on someone else’s system, at some point in the past. It proves nothing about the card in front of you today. Run the tests yourself, on the actual card, in front of you.
The third mistake is testing with an overclock applied. Some sellers run a mild overclock to make a weak card look fast, and some run an undervolt to hide a heat problem. Reset to stock settings first, every time.
The fourth mistake is ignoring the power supply in the test system. A weak or failing PSU causes crashes that look exactly like GPU crashes. If the card fails in a system with a cheap PSU, test it in a better system before you conclude the card is bad.
The fifth mistake is falling in love with the price. A card listed far below market value feels like a win, and that feeling makes buyers skip tests. The discount is the reason to test more carefully, not less.
Takeaway: test under load, test the actual card, test at stock settings, and never let a low price talk you out of testing.
Frequently Asked Questions
How can I check if my GPU is damaged or broken?
Start with GPU-Z to confirm the model and VRAM size match the listing, then inspect the card for burnt pins, bulging capacitors, and bent parts. Run a FurMark stress test for 15 minutes while watching temperatures in HWiNFO64, then run the OCCT VRAM test for 20 to 30 minutes. Artifacts, crashes, VRAM errors, or temperatures far above normal for that model all point to damage.
How do I know if my GPU is dying?
The clearest signs are visual artifacts that appear in more than one program, crashes that keep coming back at stock settings, driver resets, and a card that disappears from Device Manager. A dying card often still works at idle and only fails under load, which is why a short desktop check is not enough. Run the seven tests in this guide, and treat any artifact or crash at stock settings as a fail.
What tests should I run before buying a used GPU?
At minimum, run three tests: GPU-Z to confirm identity, a 15 minute FurMark or 3DMark stress test with temperature monitoring, and the OCCT VRAM test for 20 minutes. Add a fan listening check and a test of every display output if you have time. That short list catches identity fraud, cooling failure, memory failure, and dead ports, which are the four problems that cost buyers the most money.
Is it safe to run FurMark on a used GPU?
FurMark is safe when you use it correctly: stock settings, protections enabled, 15 minutes, and stop immediately if temperatures spike or artifacts appear. It becomes risky when protections are disabled or the test runs far longer than needed, because FurMark pushes power draw beyond what games normally demand. NVIDIA has warned against disabling protections to force a stress test. Never run FurMark on a card whose cooler you already know is broken.
Can a used GPU pass a stress test and still fail later?
Yes, and buyers should know this before they pay. A card can pass every test on the day you buy it and fail weeks later, because some faults only appear after repeated heating and cooling cycles. Mining wear, aging solder, and weakening memory can all hide during a short test. That is why a return window matters: test the card again at home in your own system, with your own games, during the return period.
Key Takeaways
- Confirm identity first with GPU-Z, because a fake card fails every other test by default.
- Test under load, not at idle. FurMark for 15 minutes and the OCCT VRAM test for 20 to 30 minutes catch most dying cards.
- Any VRAM error is a walk-away result. There is no acceptable number of memory errors.
- Watch the hotspot gap, not just the core temperature. A gap above 25 degrees points to a cooling problem.
- Test every display output and check the Windows event log for driver timeouts.
- One hard red flag ends the deal, no matter how good the price looks.
- A passing test is strong evidence, not a guarantee, so buy with a return window and test again at home.
Conclusion
A used GPU is only a bargain if it is healthy, and health is something you test, not something you take on trust. The seven tests in this guide take about an hour, use free tools, and catch the faults that cost buyers real money: fake cards, failing VRAM, dying fans, broken cooling, and dead outputs.
Bring your USB drive, reset the card to stock settings, and work through the scorecard one test at a time. If the card passes, you can buy with confidence. If it fails even one hard test, walk away and keep your money for a card that earns it. The right used GPU is out there, and now you know how to prove it before you pay.

Leave a Reply