
Nothing is more annoying than owning a solid graphics card and watching it sit half-idle while your CPU redlines. Your GPU could be ready to push 120 frames per second, but if your processor can’t feed it draw calls, physics, and game logic fast enough, you’re stuck with the frame rate your CPU can manage. That is the classic CPU bottleneck.
The good news: a CPU bottleneck is not always a “buy a new processor” problem. In many cases, the bottleneck is partly caused by wasted CPU cycles background apps, slow RAM, throttling, suboptimal settings that you can reclaim for free. The 12 methods below are ordered from the easiest, highest-value tweaks to the more involved ones. Work through them in order, testing your games after each change, and you may squeeze out every last frame your hardware is actually capable of without spending a dollar.
Quick note before we start: a CPU bottleneck means your processor is the limiting factor in your frame rate, so your graphics card spends part of its time waiting on the CPU. If you want the full breakdown of what bottleneck percentages actually mean, our guide on what a good bottleneck percentage looks like explains the numbers. Everything below is written for people who already know their CPU is the problem and want practical fixes.
Confirm You Actually Have a Fix CPU Bottleneck
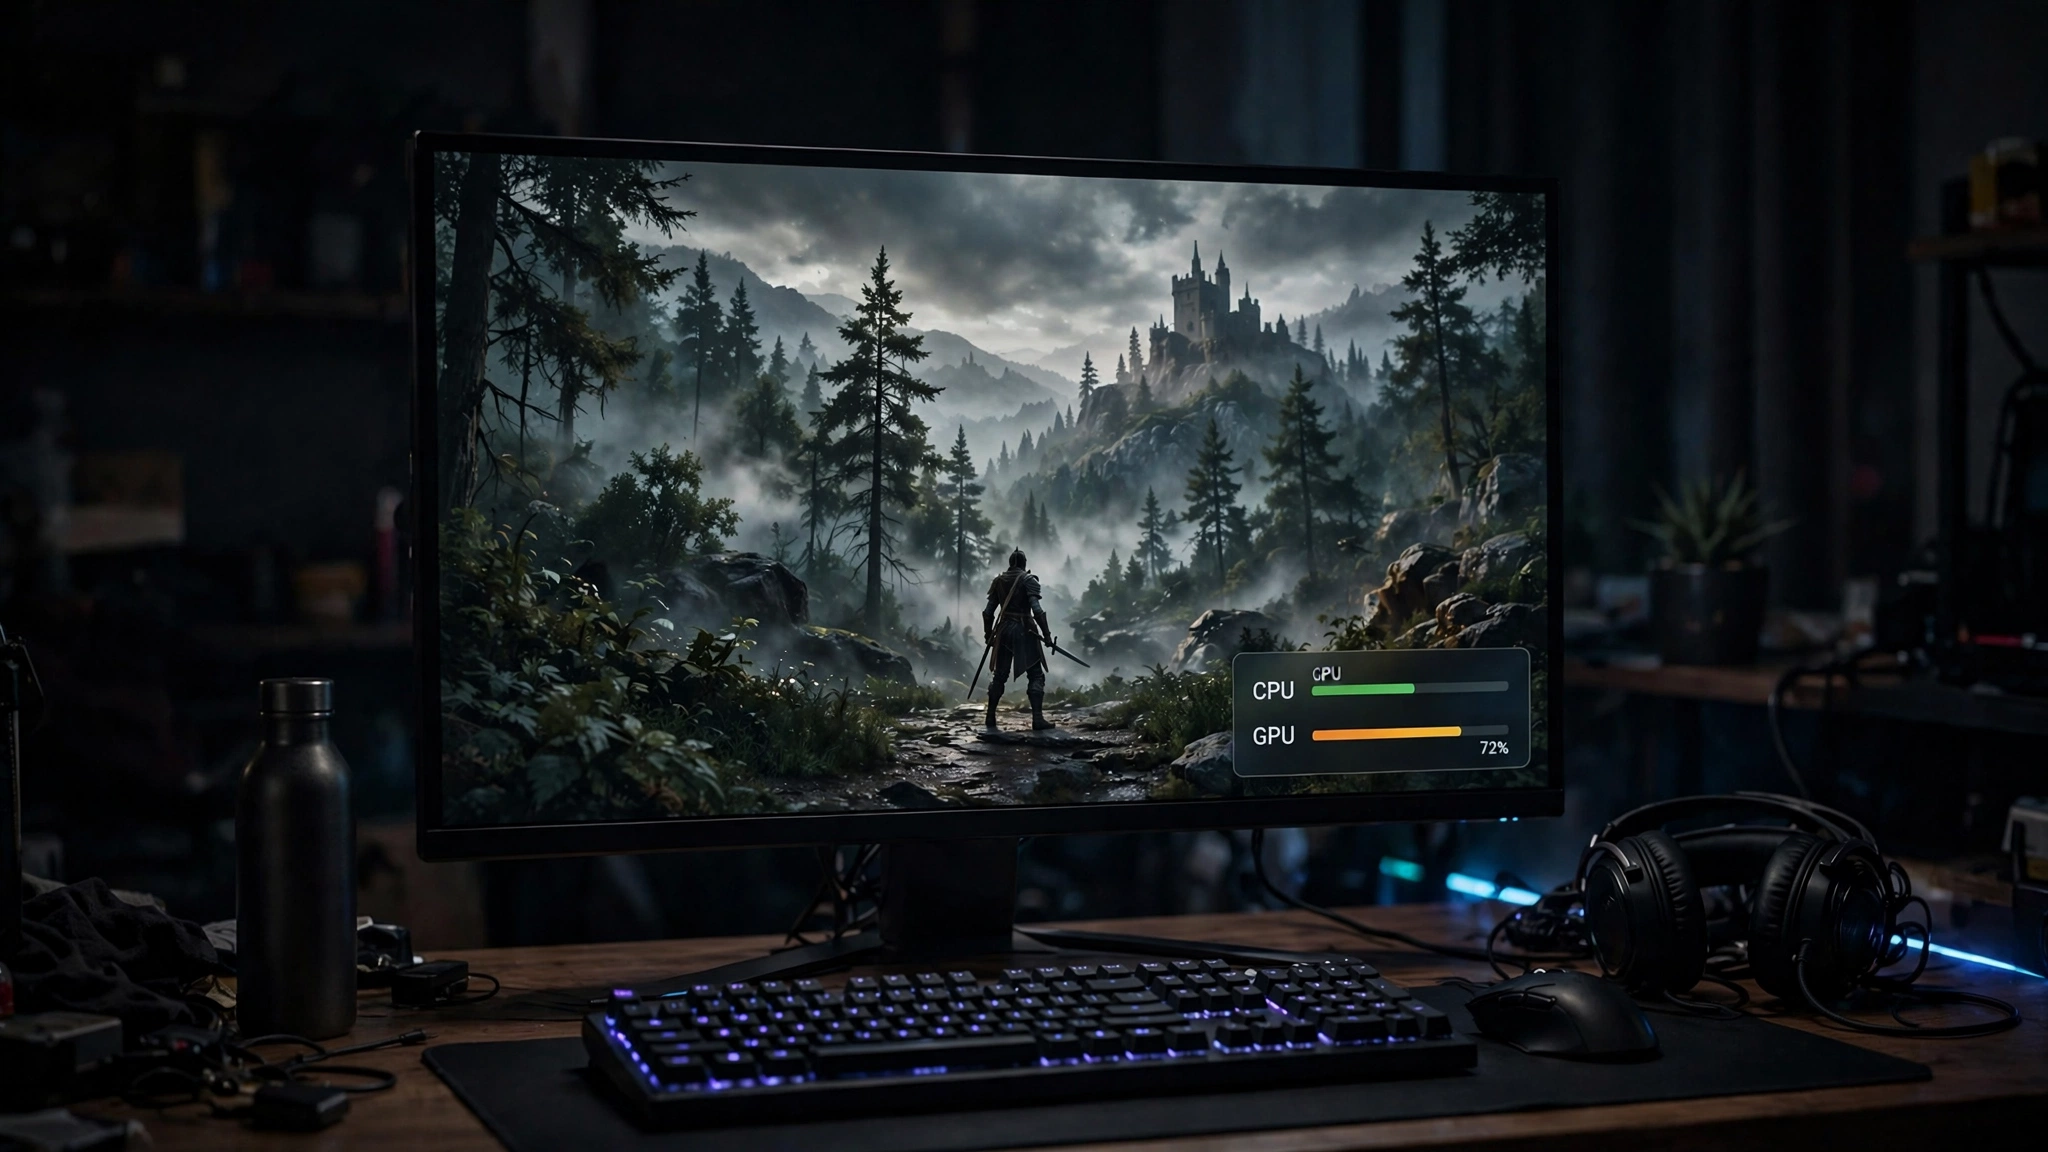
Don’t skip this. Every “fix” below assumes the CPU is genuinely your limiting factor. If your problem is actually a weak GPU, an overheating laptop, or a bad driver, these tweaks will waste your time. Confirming takes about ten minutes and two free tools.
Use MSI Afterburner with RTSS. Install MSI Afterburner and the bundled RivaTuner Statistics Server (RTSS), open Afterburner’s Settings → Monitoring tab, and enable on-screen display for GPU usage, CPU per-core usage, RAM usage, and framerate. Launch your most problematic game, play in a busy scene for five to ten minutes, and watch the overlay.
You’re looking at a CPU bottleneck if:
- GPU usage hovers well below 90% (say 60–80%) while a CPU core is pegged near 100%. This is the textbook signature the GPU has headroom but is waiting on the processor.
- Dropping the resolution or lowering graphics settings gives you basically zero extra FPS. If the bottleneck were on the GPU side, less GPU work would mean more frames. If frames don’t move when you lighten the GPU’s load, the CPU was the ceiling all along.
- One or two CPU cores are maxed while overall CPU usage looks low. Games still lean heavily on a “main thread,” so total CPU usage of 40% can hide a bottleneck if the main thread is choking.
If your GPU sits pinned at 95–100% instead, congratulations you don’t have a CPU bottleneck, and this guide isn’t for you.
Want a second opinion before you start tuning? Run your exact CPU and GPU through our free bottleneck calculator or the dedicated CPU bottleneck calculator to get a percentage estimate and see which component is expected to limit you at your resolution.
The 12 Fixes (Work Through Them in Order)
1. Kill Background CPU Hogs and Trim Your Startup List
What it does: Frees up CPU threads that background programs are quietly stealing.
Why it helps a CPU-limited PC specifically: In a GPU bottleneck, a few stray background threads barely matter because the graphics card is the ceiling. In a CPU bottleneck, your processor is already at its limit every background thread that wakes up forces the game thread to share a core or get shuffled around, causing micro-stutter and lower average FPS. Reclaiming even 5% of CPU headroom lands directly on the frame rate.
How to do it:
- Press Ctrl + Shift + Esc to open Task Manager, click the CPU column to sort by CPU usage, and play your game windowed or in borderless mode for a few minutes. Note anything besides the game consistently using CPU browsers, updaters, RGB software, launchers.
- Before gaming sessions, close browsers (Chrome and Discord are notorious), pause cloud sync tools like OneDrive or Dropbox, and quit hardware utility software you don’t actively need.
- Open Task Manager → Startup apps and disable anything you don’t need at boot. Fewer startup programs means fewer resident background processes permanently eating cycles.
- If you stream or record, consider NVENC or AMD hardware encoding instead of x264 software encoding x264 on the CPU directly competes with your game threads, which is devastating when the CPU is already the bottleneck.
2. Enable XMP or EXPO and Confirm Dual-Channel RAM
What it does: Makes your RAM run at its advertised speed instead of slow fallback speeds, and ensures it’s installed in the correct slots for dual-channel operation.
Why it helps a CPU-limited PC specifically: Your CPU’s memory subsystem caches and system RAM is part of what feeds the GPU. Slow or single-channel RAM starves the CPU of data, and that memory-side bottleneck looks exactly like a CPU bottleneck: low GPU usage, stuttery frames. This is especially true for AMD Ryzen chips, which scale strongly with memory speed. Plenty of people buy 3200 or 3600 MT/s kits and unknowingly run them at 2133 MT/s because they never enabled the memory profile.
How to do it:
- Check first: download CPU-Z (free), open the Memory tab, and look at the DRAM frequency and channel count. Double the frequency (DDR = double data rate) to get your effective speed, and confirm it says “Dual” channel.
- If the speed is far below your kit’s rating, restart into BIOS (usually Del or F2 during boot), find the memory settings, and enable XMP (Intel) or EXPO (AMD). Save and exit.
- If CPU-Z says single channel with two sticks installed, power off and move the sticks to the matching slots your motherboard manual specifies usually slots 2 and 4 (A2/B2). This is a five-minute physical fix that can dramatically improve memory bandwidth.
- Consider 16 GB a practical minimum for modern gaming; if you’re on 8 GB and Windows is constantly paging to the SSD, that’s extra CPU overhead too.
3. Switch to a High-Performance Power Plan, Game Mode, and HAGS
What it does: Stops Windows from downclocking your CPU, parking cores, or letting background work interrupt your game.
Why it helps a CPU-limited PC specifically: Balanced power plans aggressively park cores and drop clock speeds to save energy. On a CPU-bound system, those milliseconds of ramp-up time and parked-core wake-up latency translate directly into stutter. Hardware-accelerated GPU scheduling (HAGS) offloads some scheduling work from the CPU to the GPU, which is exactly the direction you want work to flow when the CPU is maxed.
How to do it:
- Open Settings → System → Power (or the legacy Power Options control panel) and select High Performance or Best Performance.
- In Settings → Gaming → Game Mode, make sure Game Mode is on. It prevents Windows Update and background services from stealing CPU priority while you game.
- In Settings → System → Display → Graphics → Default graphics settings, turn on Hardware-accelerated GPU scheduling if your card and driver support it (most modern GPUs do). Restart afterward.
- While you’re there, disable Windows’ “Let Windows try to fix apps so they’re not blurry” style extras and any variable refresh gimmicks you don’t need keep the pipeline simple.
4. Raise Your Resolution or Render Scale to Shift Load to the GPU
What it does: Gives your underworked GPU more to do per frame, so it stops waiting on the CPU.
Why it helps a CPU-limited PC specifically: This one feels backwards, but it’s the signature CPU-bottleneck trick. Your CPU prepares roughly the same amount of work per frame regardless of resolution game logic, draw calls, physics don’t get much heavier at 1440p vs 1080p. So raising the resolution makes each frame more GPU-heavy without adding much CPU work, letting the GPU hit full utilization and delivering better image quality at nearly the same frame rate. If you’re CPU-limited at 1080p with 70% GPU usage, try 1440p your GPU usage climbs, your visuals get sharper, and your FPS barely moves because the CPU was always the ceiling.
How to do it:
- If your monitor supports it, switch the game or Windows to a higher resolution (1440p or 4K).
- If your monitor is 1080p, use your GPU’s supersampling feature instead: NVIDIA DSR (Dynamic Super Resolution) or AMD Virtual Super Resolution render the game at a higher internal resolution and downscale it. The visual payoff is the same.
- Some games have an in-game “render scale” or “resolution scale” slider set it to 125–150% for the same effect without changing Windows settings.
- Retest with your Afterburner overlay: if GPU usage climbs toward 95% while FPS stays roughly constant, you’ve successfully balanced the load.
5. Enable DLSS, FSR, or XeSS Upscaling
What it does: Renders the game at a lower internal resolution and uses AI or spatial upscaling to reconstruct a sharp final image, offloading work from the GPU.
Why it helps a CPU-limited PC specifically: Wait if upscaling removes GPU work, how does that help when the CPU is the problem? Two reasons. First, pairing upscaling (Quality or Balanced mode) with a higher output resolution, as in Method 4, keeps the GPU fully fed while looking better than native. Second, DLSS and FSR are cheap on the GPU and can smooth frame times in games where the GPU was also contributing to stutter. Just be honest with yourself about the mechanics: upscaling does not make your CPU faster. If lowering the render resolution with DLSS Ultra Performance gives you zero extra frames, that’s further proof the CPU is your ceiling and you should flip the strategy to Method 4 instead.
How to do it:
- In the game’s graphics settings, look for DLSS (NVIDIA RTX cards), FSR (works on most GPUs), or XeSS (Intel, works on other vendors’ cards too).
- For a CPU-bottlenecked setup, choose the Quality or Balanced preset not Ultra Performance. You want to keep the GPU busy, not starve it.
- Combine with Method 4: upscaled 1440p or 4K output keeps image quality high while the GPU does the heavy lifting the CPU can’t.
- Skip upscaling entirely in competitive shooters where you want the lowest latency it adds a small amount of input lag.
6. Try Frame Generation With Honest Expectations
What it does: Uses AI to synthesize extra frames between the ones your CPU and GPU actually render, making motion look much smoother.
Why it helps a CPU-limited PC specifically: Frame generation is one of the few technologies that can genuinely mask a CPU bottleneck, because the inserted frames are created by the GPU independently of the processor. In a CPU-bound scene a crowded city hub, a grand strategy endgame, a simulation-heavy open world frame generation can make a choppy 50 FPS feel like smooth 90+ FPS motion. But read the caveats before you flip the switch.
The honest caveats:
- It needs a decent baseline. Frame generation works best from a minimum of about 60 FPS before interpolation. If your real rendered frame rate is 30 FPS, frame generation will show you a bigger number while the game still feels like 30 FPS your inputs are only sampled on the real frames.
- It adds input latency. Generated frames don’t reduce the time between your click and the game’s response. In fast competitive shooters, the extra latency can feel worse than the lower base frame rate. Pair it with NVIDIA Reflex or AMD Anti-Lag when available to claw back responsiveness.
- It’s a smoothness tool, not a fix. Think of it as motion smoothing for single-player and simulation games where feel matters more than frame-perfect reactions city builders, RPGs, story-driven titles. That’s where it shines on CPU-limited systems.
How to do it:
- Check whether your game supports DLSS Frame Generation, FSR 3 Frame Generation, or XeSS Frame Generation, and whether your GPU meets the requirements.
- First apply Methods 1–5 and get your real rendered frame rate as high as possible ideally near 60 FPS or better.
- Enable frame generation, then play for at least 15 minutes before judging. Watch for visual artifacts around fast-moving objects and decide whether the smoothness is worth the slight latency for that particular game.
7. Turn Down CPU-Heavy Settings and Push GPU-Heavy Ones Up
What it does: Removes work from your overloaded CPU while giving your idle GPU more to chew on.
Why it helps a CPU-limited PC specifically: Not all graphics settings are created equal. Some settings hammer the CPU (draw calls, physics, AI) while others hammer the GPU (shaders, anti-aliasing). A CPU-bottlenecked player who lowers every setting is leaving performance on the table: turning down GPU-heavy settings in a CPU-bound game changes nothing about the frame rate, it just makes the game uglier. The winning move is surgical cut what the CPU does, raise what the GPU does.
CPU-heavy settings to lower: draw distance / view distance, shadow quality (shadow rendering involves lots of CPU draw calls), crowd or NPC density, physics and particle counts, and ray tracing in some engines (BVH building can tax the CPU).
GPU-heavy settings you can safely raise: texture quality (uses VRAM, not CPU), anisotropic filtering, anti-aliasing, post-processing effects like ambient occlusion and bloom, and render resolution (see Method 4).
How to do it:
- Open the game’s graphics settings and identify the CPU-heavy options above drop them one or two notches.
- Raise the GPU-heavy options to high or ultra. Watch your overlay: GPU usage should climb while FPS stays roughly the same or improves slightly.
- If a game has a built-in benchmark, run it after each round of changes so you’re comparing apples to apples.
- For a deeper dive on which settings cost what, our FPS optimization guide breaks down the most demanding graphics options in detail.
8. Update Your BIOS and Chipset Drivers
What it does: Brings motherboard firmware and CPU chipset drivers up to date, fixing scheduling bugs and unlocking performance improvements.
Why it helps a CPU-limited PC specifically: BIOS and chipset updates frequently include CPU microcode updates, improved boost behavior, better memory compatibility, and fixes for core-parking or thread-scheduling quirks particularly on Ryzen platforms where AMD’s chipset drivers control how Windows distributes work across cores and chip lets. If your CPU is the bottleneck, you want its firmware running at its absolute best. This is also the update most people never do: GPU drivers get updated religiously, BIOS almost never.
How to do it:
- Check your current BIOS version in System Information (msinfo32) and compare it against your motherboard manufacturer’s support page. Don’t update from a random forum link always use the official board vendor page.
- Update BIOS using the manufacturer’s recommended method (many boards support updating from within the BIOS itself via USB). Keep the PC on stable power during the flash an interrupted BIOS update can brick a board.
- Install the latest chipset drivers: AMD Chipset Drivers for Ryzen systems, Intel Chipset/INF drivers for Intel systems. Grab them from AMD or Intel directly rather than relying on Windows Update’s often-outdated versions.
- After updating, re-enter BIOS and re-enable XMP/EXPO (Method 2) BIOS updates commonly reset memory settings to defaults.
9. Overclock or Enable PBO After Checking Your Cooling
What it does: Lets your CPU sustain higher clock speeds, directly raising the ceiling on CPU-limited frame rates.
Why it helps a CPU-limited PC specifically: In a CPU bottleneck, your frame rate is essentially a function of how fast your processor can chew through game threads. Higher sustained clocks mean more frames per second it’s the most direct software-side lever you have. AMD’s Precision Boost Overdrive (PBO) and Intel’s equivalent boost behaviors are designed to do this safely within the chip’s limits, and a mild manual overclock or undervolt can find extra headroom the stock configuration leaves on the table.
How to do it:
- Check cooling first. Open HWMonitor or HWiNFO while gaming. If your CPU is already hitting 90°C+ and thermal throttling, overclocking will make things worse fix cooling (Method 11) before touching clocks.
- For AMD Ryzen: enable PBO in BIOS, or use AMD’s official Ryzen Master utility for per-CCX tuning without rebooting into BIOS constantly.
- For Intel: look for enhanced boost or a mild all-core overclock in BIOS if your chip and board support it (K-series chips and Z-series boards). Start conservative small increments, stress-test with Cinebench or OCCT between changes.
- Consider undervolting instead of (or alongside) overclocking. Reducing voltage lowers heat, which lets boost algorithms sustain higher clocks longer. It’s often the safer path to the same result, especially on laptops.
10. Cap Your Frame Rate With RTSS to Smooth Frametimes
What it does: Limits your maximum FPS to a steady target, eliminating the jarring swings between high and low frame rates.
Why it helps a CPU-limited PC specifically: CPU bottlenecks rarely produce a smooth low frame rate they produce spiky frame rates. Your CPU handles simple scenes fine (120 FPS) then chokes on busy ones (45 FPS), and that constant swinging feels far worse than a stable lower number. Capping the frame rate slightly below your typical lows gives the CPU breathing room, produces even frametimes, and the game feels dramatically smoother even though the “max FPS” number went down. This is the single best-feeling free tweak for stuttery CPU-bound games.
How to do it:
- You already have RTSS installed from Step 0 open it and set a framerate limit a few FPS below your game’s typical minimum in busy scenes (if you swing between 55 and 90, cap at 50 or 55).
- If your monitor supports G-Sync or FreeSync, cap 2–3 FPS below its maximum refresh rate to stay in the variable refresh window and avoid tearing without V-Sync’s input lag.
- Use RTSS’s cap rather than the in-game limiter when possible RTSS’s frame pacing is widely regarded as the most consistent.
- Don’t cap too aggressively. Capping a 90 FPS average game at 30 won’t help anything; the goal is to trim the peaks so the valleys stop feeling like valleys.
11. Clean Out Dust and Check Thermals
What it does: Restores your CPU’s ability to hold its boost clocks by removing heat buildup.
Why it helps a CPU-limited PC specifically: A CPU that thermal-throttles behaves exactly like a weaker CPU clocks drop, frame rates tank, and GPU usage sags. Many “CPU bottlenecks” are really cooling problems in disguise: a dust-choked cooler, a dried-out thermal paste application from five years ago, or a case with no airflow. When the CPU is already your limiting factor, losing 500 MHz to throttling is catastrophic for frame rates. Fixing thermals is literally free performance you already paid for.
How to do it:
- While gaming, watch CPU temperatures and clock speeds in HWiNFO. Sustained temps above ~90°C with clocks well below the chip’s rated boost speed strongly suggest throttling.
- Power down, open the case, and clean dust from the CPU cooler fins, fans, and case filters with compressed air (hold fan blades still so they don’t overspin).
- If the PC is several years old and temps are still bad after cleaning, consider repasting the CPU remove the cooler, clean off old paste with isopropyl alcohol, and apply a pea-sized dot of fresh thermal paste. Quality paste is cheap and the procedure is well documented by cooler manufacturers.
- Check case airflow: you want a clear front-to-back path. A PC crammed in a closed cabinet or with all-intake/no-exhaust fans will cook regardless of cooler quality.
12. Enable Resizable BAR (Smart Access Memory)
What it does: Lets your CPU access your GPU’s entire VRAM pool at once instead of in small 256 MB chunks, reducing communication overhead between the two.
Why it helps a CPU-limited PC specifically: Resizable BAR (called Smart Access Memory on AMD platforms) cuts down on the back-and-forth the CPU has to do to feed the GPU. When the CPU is maxed out, reducing its per-frame communication overhead frees cycles for actual game work. The gains vary by game some titles see a meaningful uplift, others see nothing but it’s a free toggle in BIOS, and on CPU-bound systems even small overhead reductions land directly on frame rate.
How to do it:
- Enter BIOS and look for “Resizable BAR” or “Smart Access Memory” (sometimes under PCI Subsystem settings). Enable it. You may also need to enable “Above 4G Decoding” on some boards the option usually appears alongside it.
- Update your GPU drivers to a recent version, since ReBAR support requires driver cooperation on both sides.
- Verify it’s active: in Windows, open NVIDIA Control Panel → System Information (for NVIDIA cards) or check GPU-Z’s readout (for AMD) to confirm Resizable BAR shows as enabled.
- Test your games before and after. If a specific game regresses (rare, but it happens), you can disable it per-game in some driver control panels rather than turning it off globally.
When Free Fixes Aren’t Enough Honest Upgrade Pointers
Let’s be straight with each other: these 12 methods reclaim wasted performance, but they can’t turn a 6-year-old quad-core into a modern gaming CPU. If you’ve worked through the whole list and your overlay still shows the CPU pegged with the GPU yawning, you’ve hit the genuine hardware ceiling.
Here’s how to think about what comes next without overspending:
- Match the upgrade to the bottleneck. A CPU bottleneck means the processor (or the platform around it slow RAM, old motherboard) is what needs attention, not a bigger GPU. Buying a faster graphics card into a CPU bottleneck just gives you a more expensive idle GPU.
- Platform matters more than the chip alone. Moving from an old platform to a modern one brings faster memory, PCIe 4.0/5.0, and better boost behavior the gains compound beyond the CPU itself.
- Check pairing before you buy. If you’re eyeing a specific combo, look up real-world pairing advice first for example, our breakdown of the best CPU for the RTX 5060 shows how to match a processor to a popular mid-range card so you don’t just move the bottleneck somewhere else.
Upgrading is the last resort, not the first step. Most people reading this article will find their answer somewhere in the 12 methods above.
Frequently Asked Questions
Can you really fix a CPU bottleneck without upgrading?
Often, yes partially. A surprising share of real-world CPU bottlenecks are worsened by fixable problems: background apps eating threads, RAM running at half speed, thermal throttling, or poorly chosen settings. The methods above reclaim that wasted headroom, which can meaningfully raise frame rates and smooth stutter. What they can’t do is change the fundamental capability of the chip a genuinely outdated CPU will still be the ceiling after tuning.
Does raising the resolution really reduce a CPU bottleneck?
It doesn’t make the CPU faster, but it rebalances the system. CPU workload per frame stays roughly constant as resolution rises, while GPU workload climbs. So at higher resolutions your GPU works harder and stops idling you get better image quality at nearly the same frame rate. It’s the standard trick for making a CPU-limited system feel and look better.
Will adding more RAM fix a CPU bottleneck?
Usually not by itself. What matters far more is RAM speed and configuration enabling XMP/EXPO and running dual-channel (Method 2). Going from 8 GB to 16 GB helps if Windows was paging to disk, but going from 16 GB to 32 GB won’t un-bottleneck your CPU in games.
Will DLSS or FSR fix my CPU bottleneck?
Not directly. Upscaling reduces GPU workload, and in a CPU bottleneck the GPU already has spare capacity giving it less to do doesn’t raise your frame rate. DLSS and FSR are still useful in CPU-bound setups when combined with higher output resolutions (better image quality for free), and frame generation can smooth the feel of CPU-limited games, but neither makes the processor itself faster.
What bottleneck percentage is acceptable?
As a rule of thumb, under 10% is a well-balanced system and not worth chasing. Between 10–20% is a mild bottleneck you can often tune away with exactly the methods in this article. Above 20%, you’re likely looking at a genuine hardware mismatch or a background process eating cycles. Our good bottleneck percentage guide breaks down what the numbers mean in practice.
Why does my CPU bottleneck only show up in certain games?
Because different games stress the CPU differently. Strategy games, city builders, open-world titles with dense NPCs, and simulation-heavy games hammer the processor with AI, physics, and draw calls. Linear shooters and corridor-style games are usually GPU-bound. A bottleneck that appears in one genre and not another is normal tune per game rather than expecting one global fix.
Should I disable CPU cores or set CPU affinity to fix a bottleneck?
Generally no. Manually restricting which cores a game can use almost always hurts more than it helps modern Windows scheduling and game engines handle thread distribution better than manual affinity tweaks. The one exception is quarantining background apps to specific cores so they stop interrupting game threads, which Task Manager’s “Set affinity” option can do. Leave the game itself alone.
Final Word
A CPU bottleneck feels like a hardware problem, and sometimes it is but more often than people expect, it’s a configuration problem wearing a hardware costume. Work through these 12 methods in order, verify each change with your monitoring overlay, and keep notes on what actually moved the needle in your games. The frames you reclaim for free are the cheapest performance you’ll ever get.
And if you haven’t measured your system’s balance yet, start with our free bottleneck calculator knowing exactly where you stand makes every tweak that follows ten times more effective.

Leave a Reply